UI
Posthoc's interface is composed of views, a titlebar, and a sidebar. You can add, remove, and rearrange views to your desire.
Explore
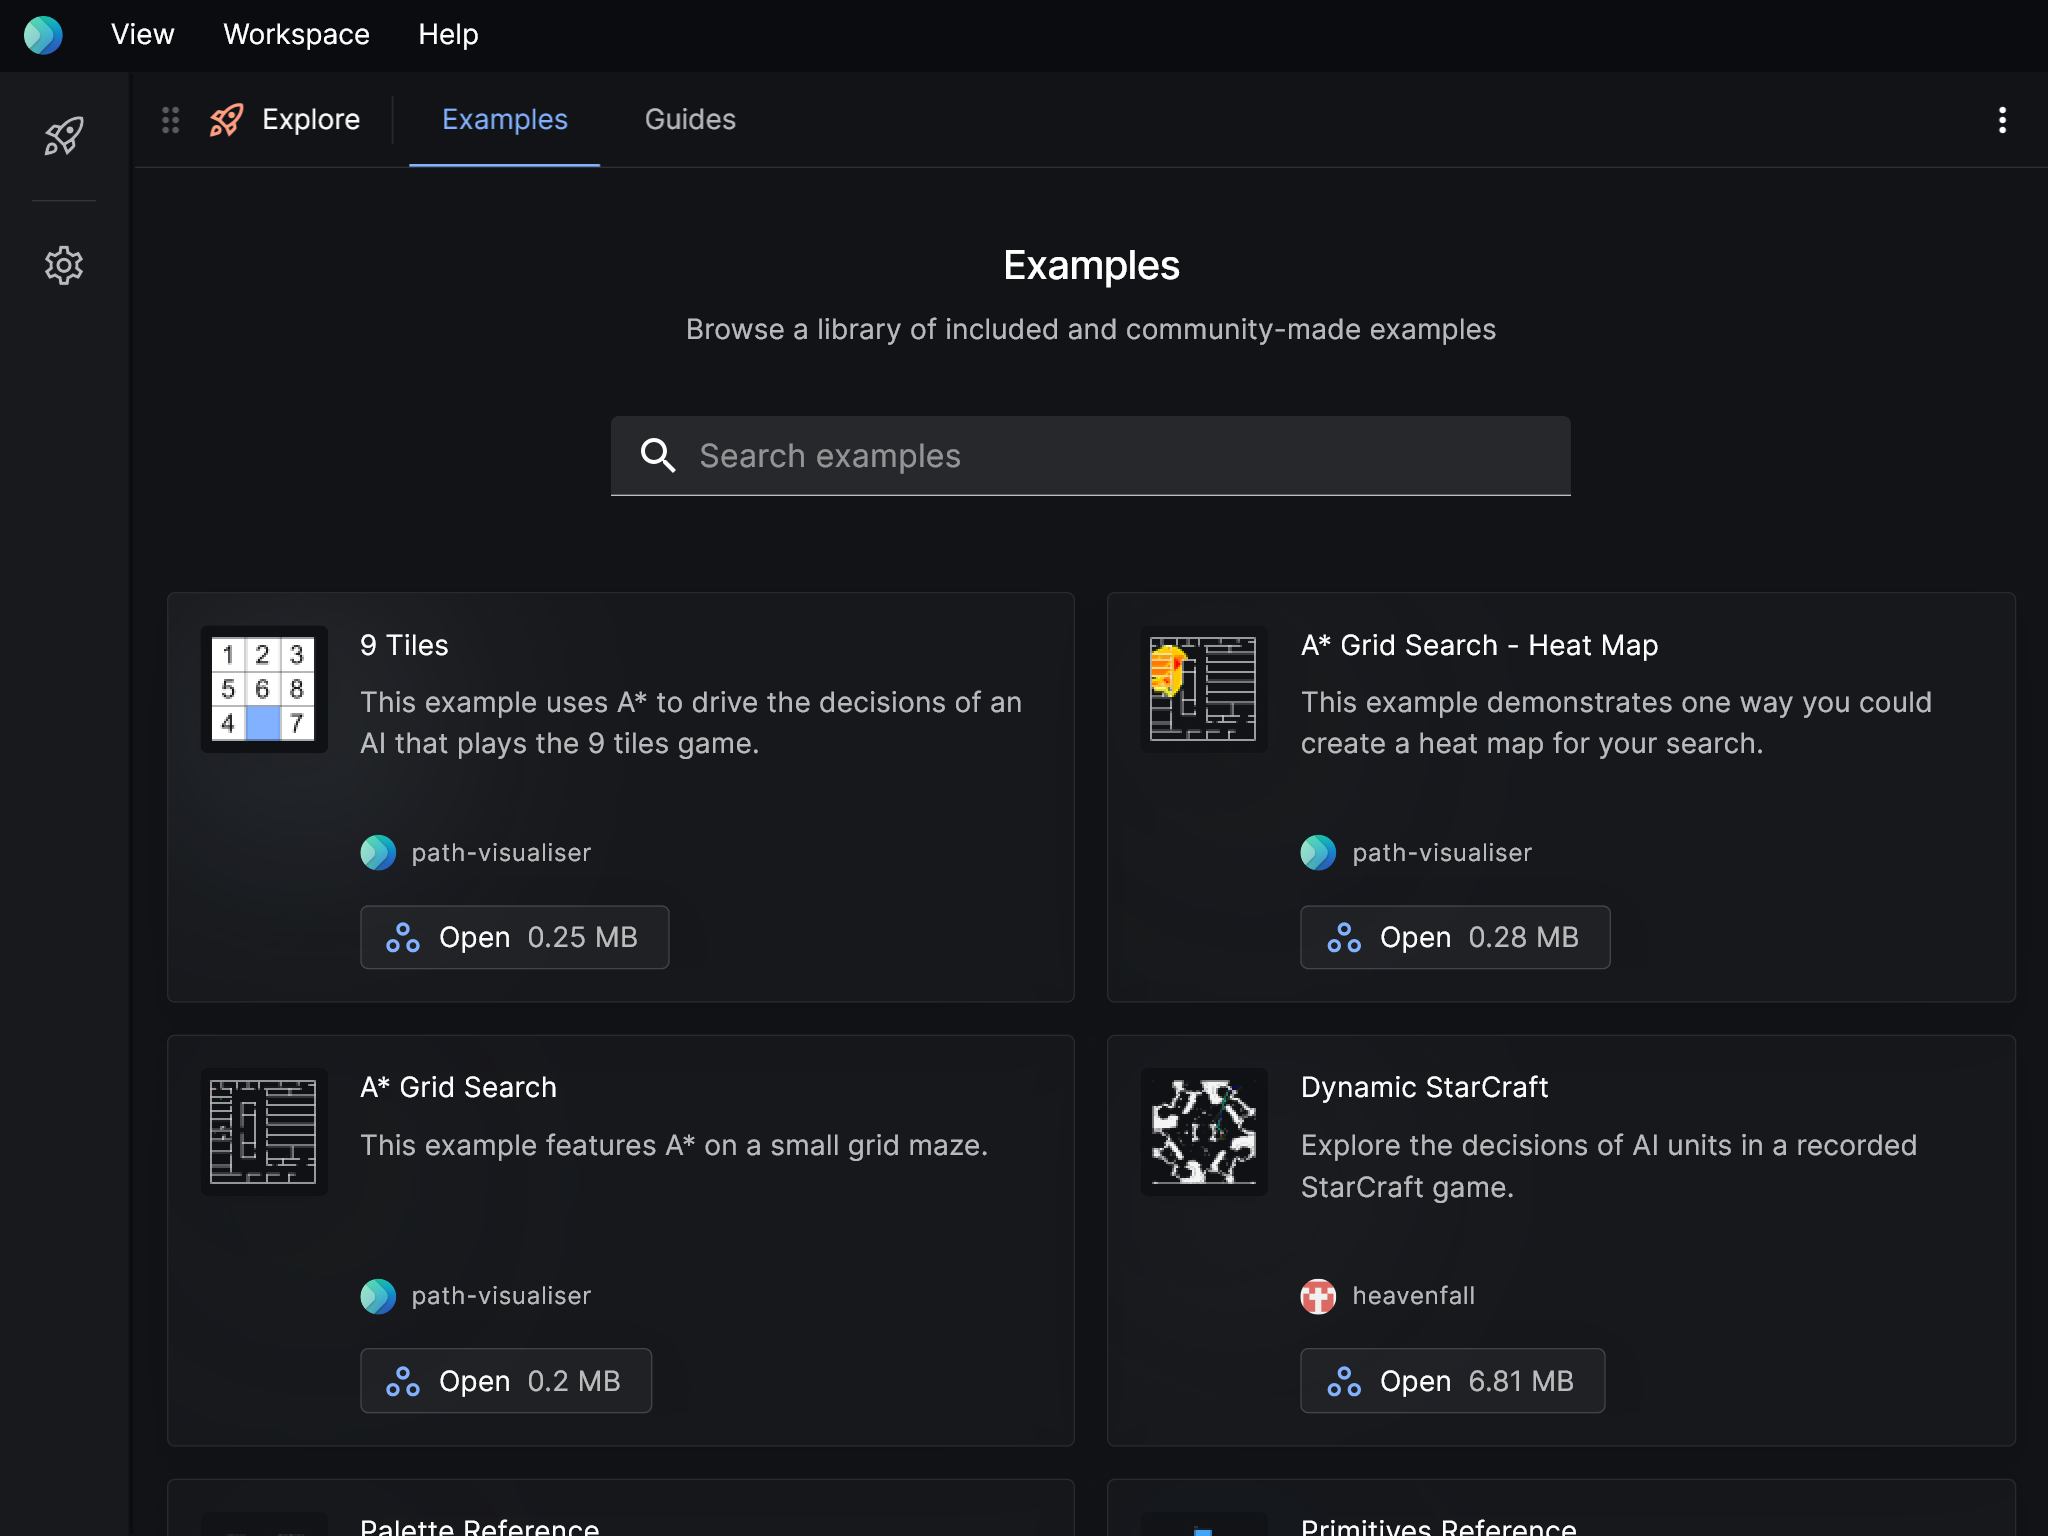
Explore Posthoc and its community creations via examples and guides.
Layers
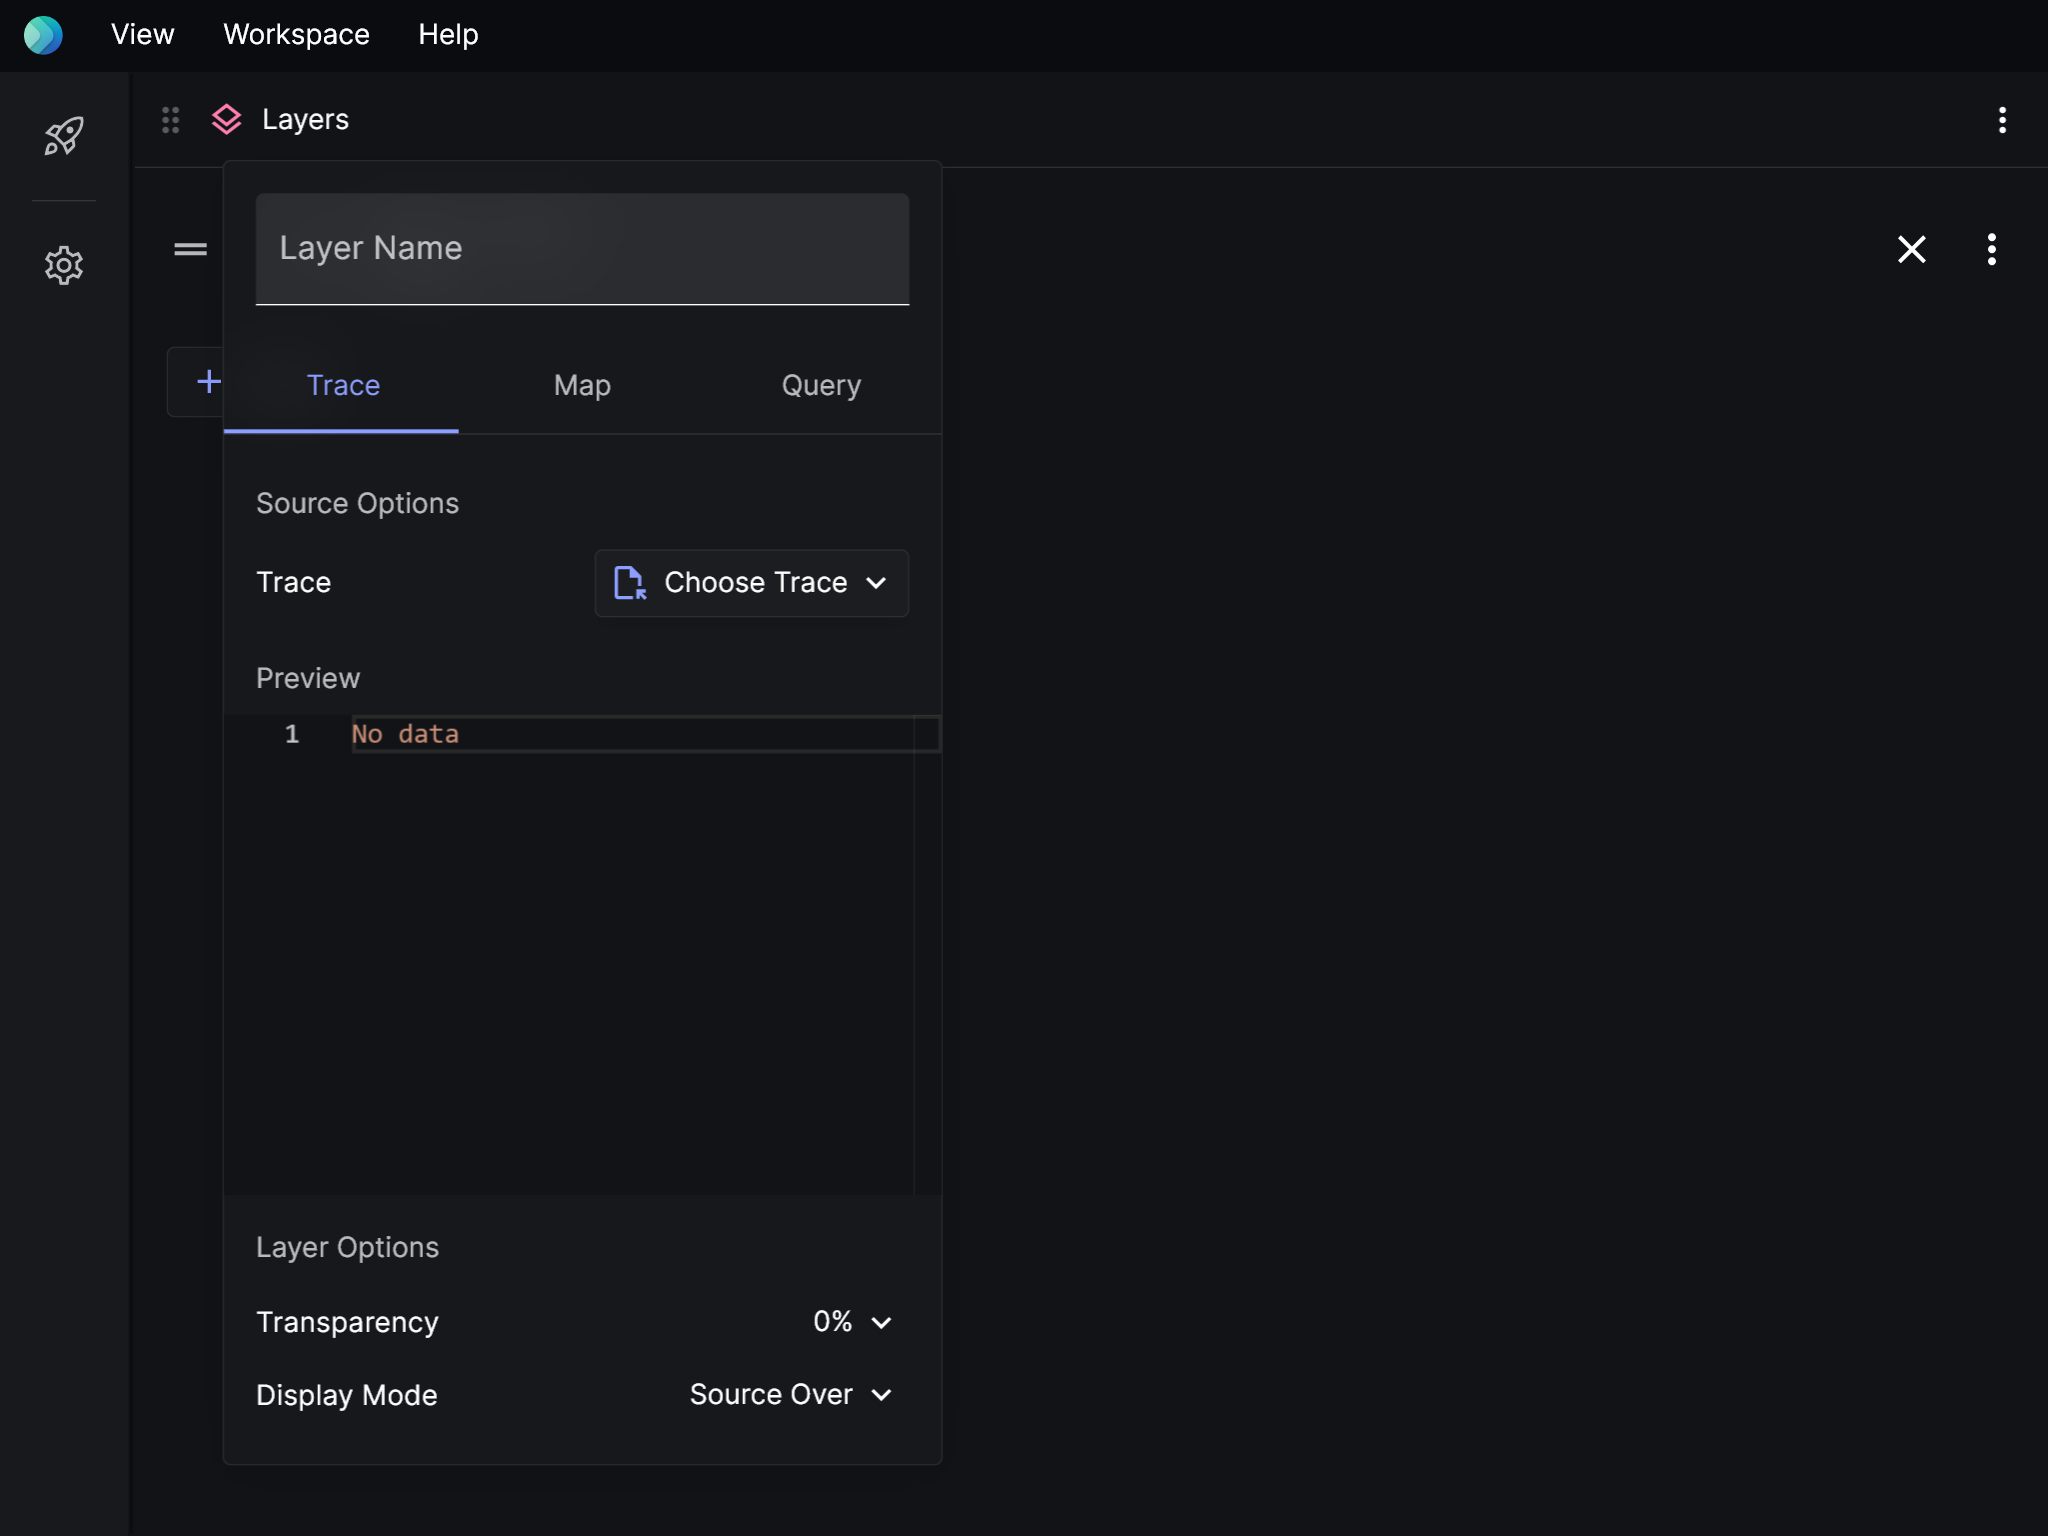
Add, edit, and remove layers. The options available to a layer depends on the layer type. Read more about layers here.
General options
| Name | Description |
|---|---|
| Layer name | A name for the layer. If empty, one will be auto-generated. |
| Transparency | How see-through this layer will be in the viewport. |
| Display mode | How this layer will blend with its background in the viewport. These are the options provided. |
Trace options
Load a search trace file.
| Name | Description |
|---|---|
| Source | The search trace that gets drawn on this layer. |
Map options
Load a map.
| Name | Description |
|---|---|
| Map | The map that gets drawn on this layer. |
| Tile color for "*" | Grid maps only. The color to use for a specific tile. |
Query options
Make a query using the Visualiser Adapter Protocol.
| Name | Description |
|---|---|
| Map | The map that gets drawn on this layer. |
Events
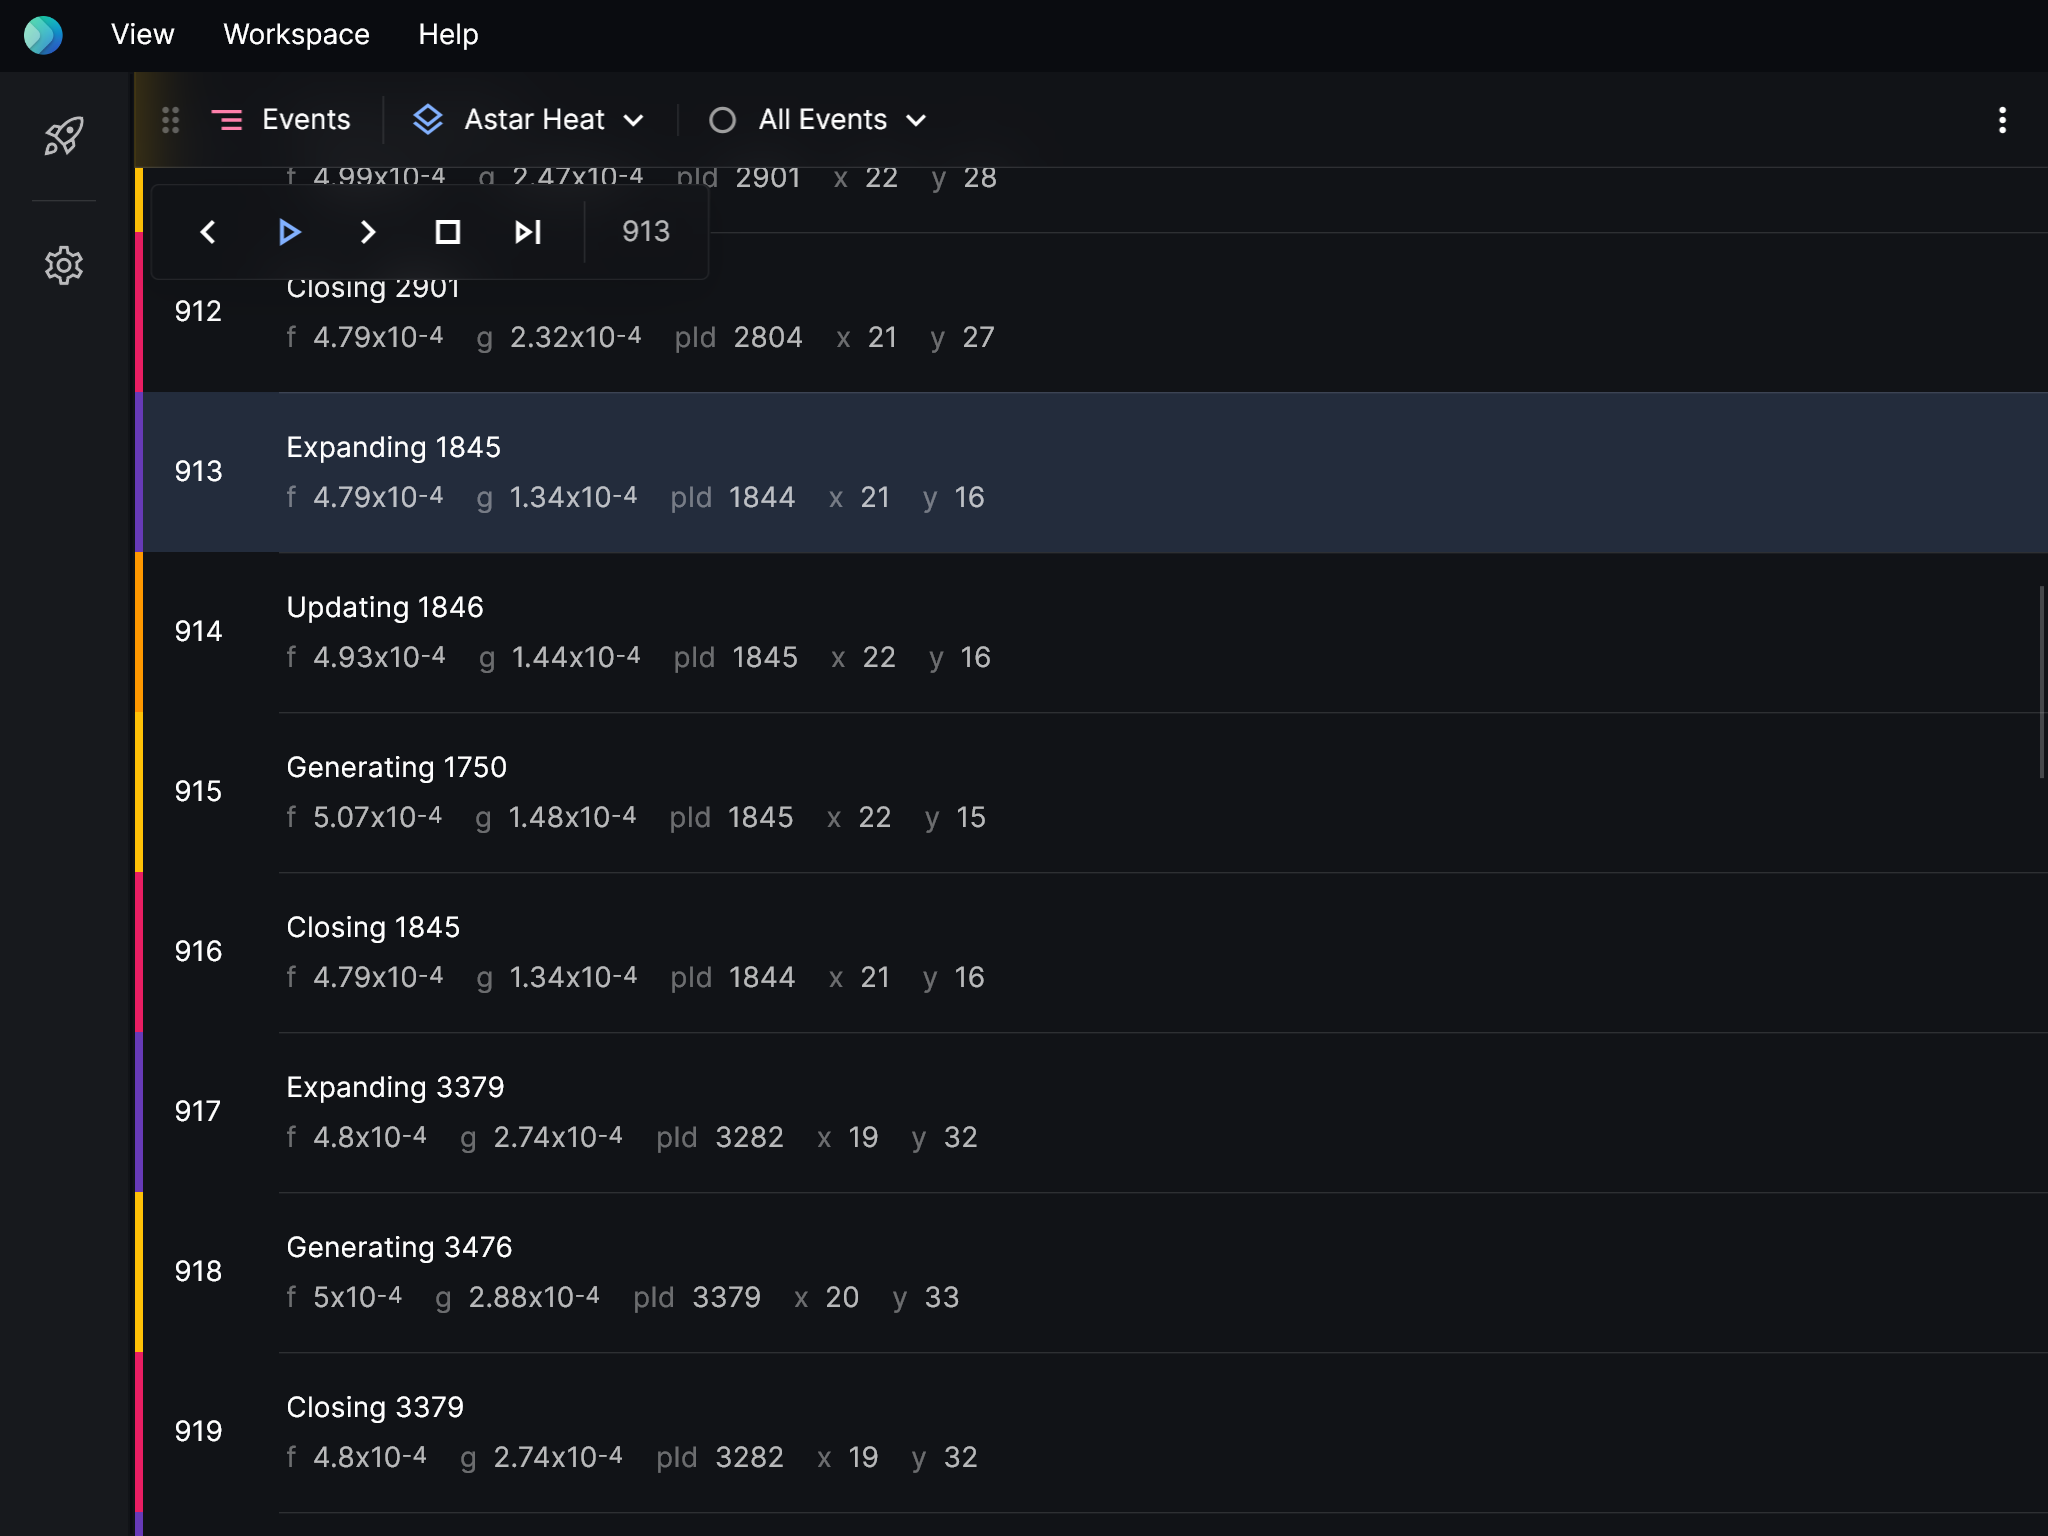
Browse the events of a search trace.
Toolbar items
| Name | Description | Default |
|---|---|---|
| Layer | The layer to show events for. | The first layer with events. |
| Event Type | Show only events that match this type. | Show all events. |
Viewport
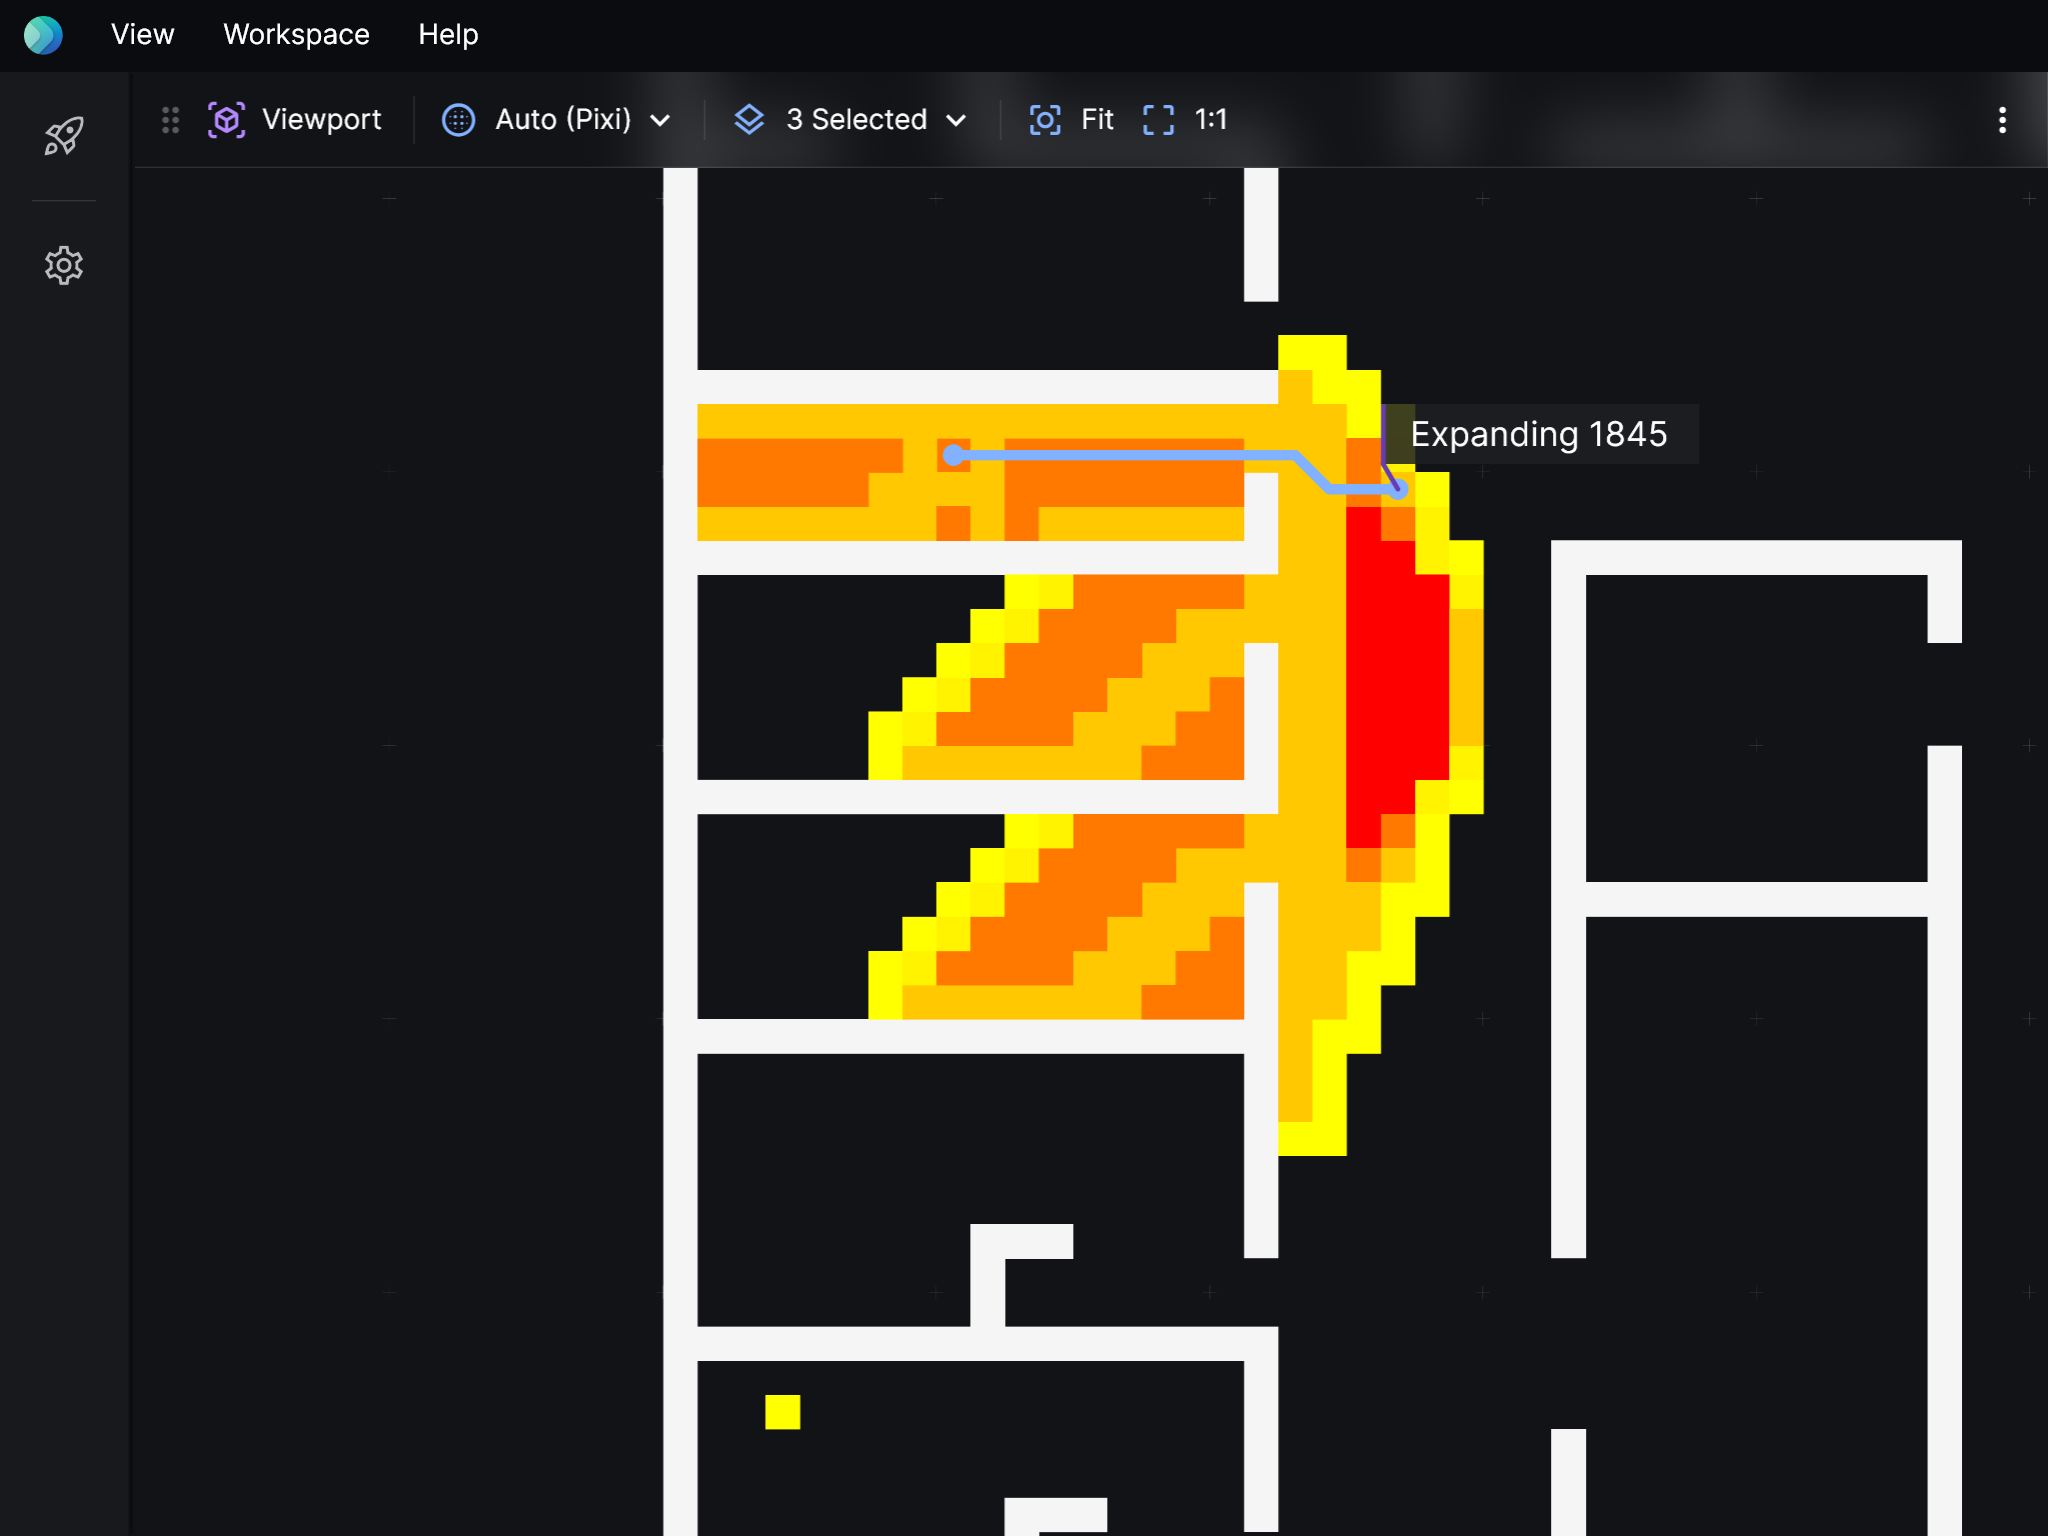
Toolbar items
| Name | Description | Default |
|---|---|---|
| Layers | The layers to render. | Render all layers. |
| Renderer | The renderer to use. Read more about renderers. | Pick automatically. |
Graph
Visualise search traces as decision trees.
For this to work, events in search traces must have id and pId properties. An id uniquely identifies a node in the search. pId is the parent node's id.
Since events with the same id might have multiple pIds, this makes it a directed graph rather than a tree, strictly speaking.
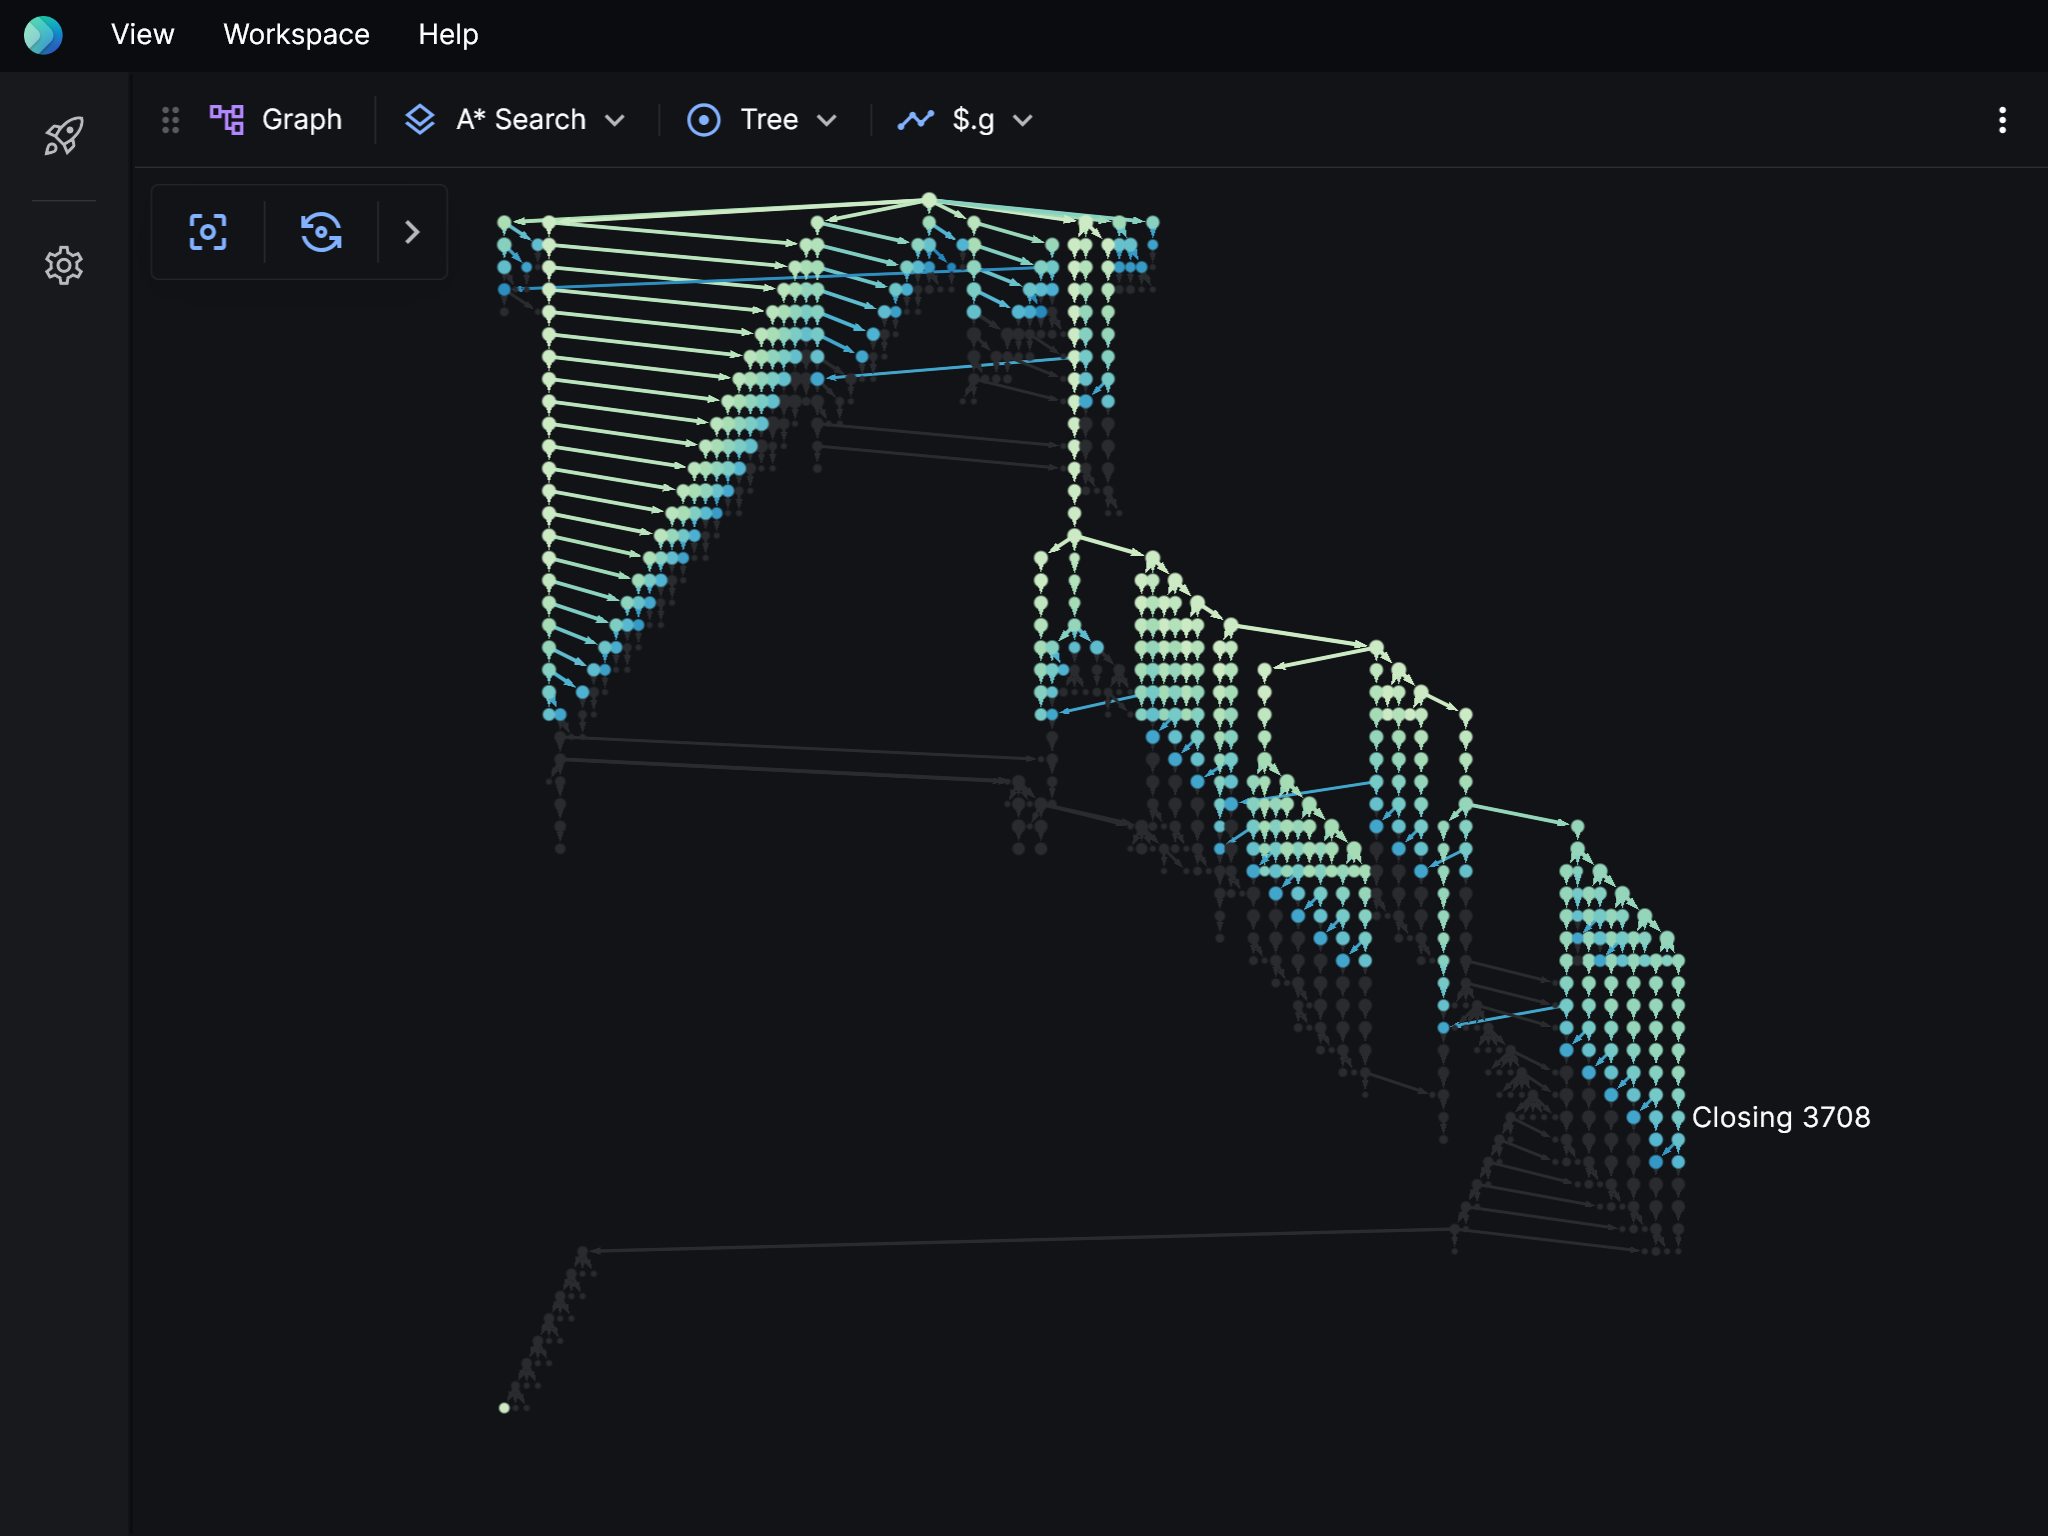
Toolbar items
| Name | Description | Default |
|---|---|---|
| Layer | The layer to draw a tree for. | The first layer with events. |
| Layout | How the layout should be calculated. Directed graph: Organise the nodes, taking into account all associations, so that that overlapping edges a minimised. Tree: Organise the nodes such that if there's multiple parents for a single node, use only the one that appears last. | Show as a tree. |
| Tracked property | Select a numeric property to use to render a heat scale. | Off, use event colors instead. |
Source
See the underlying files and data for each layer.
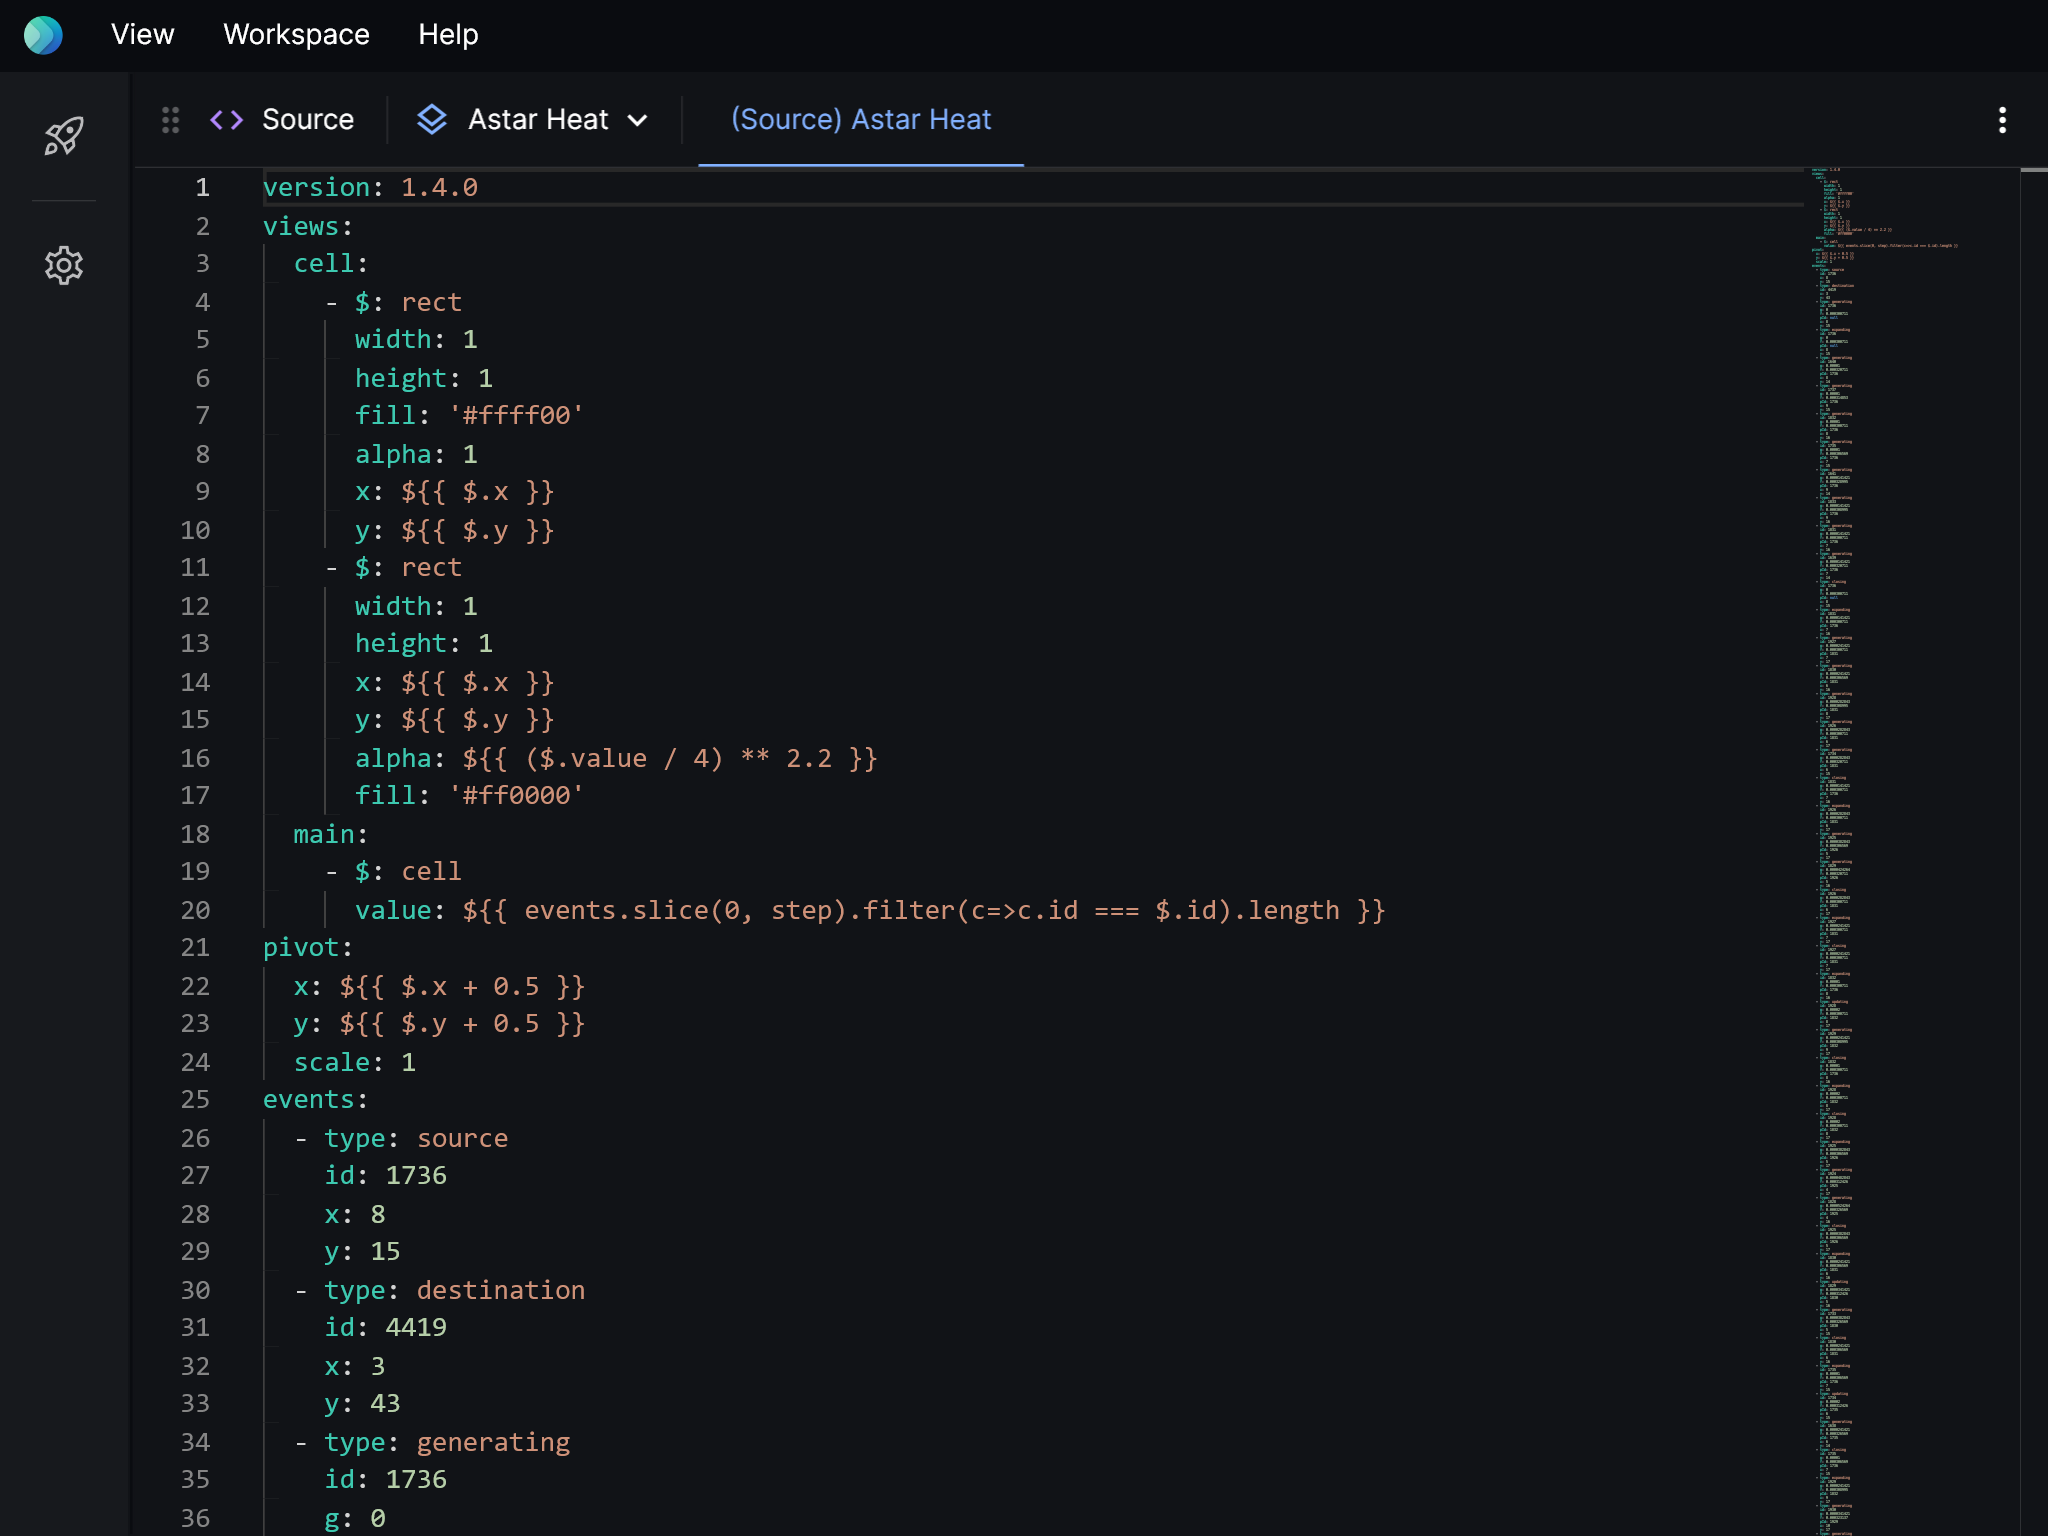
Toolbar items
| Name | Description | Default |
|---|---|---|
| Layer | The layer to show source files for. | The first layer with source files. |
Debugger
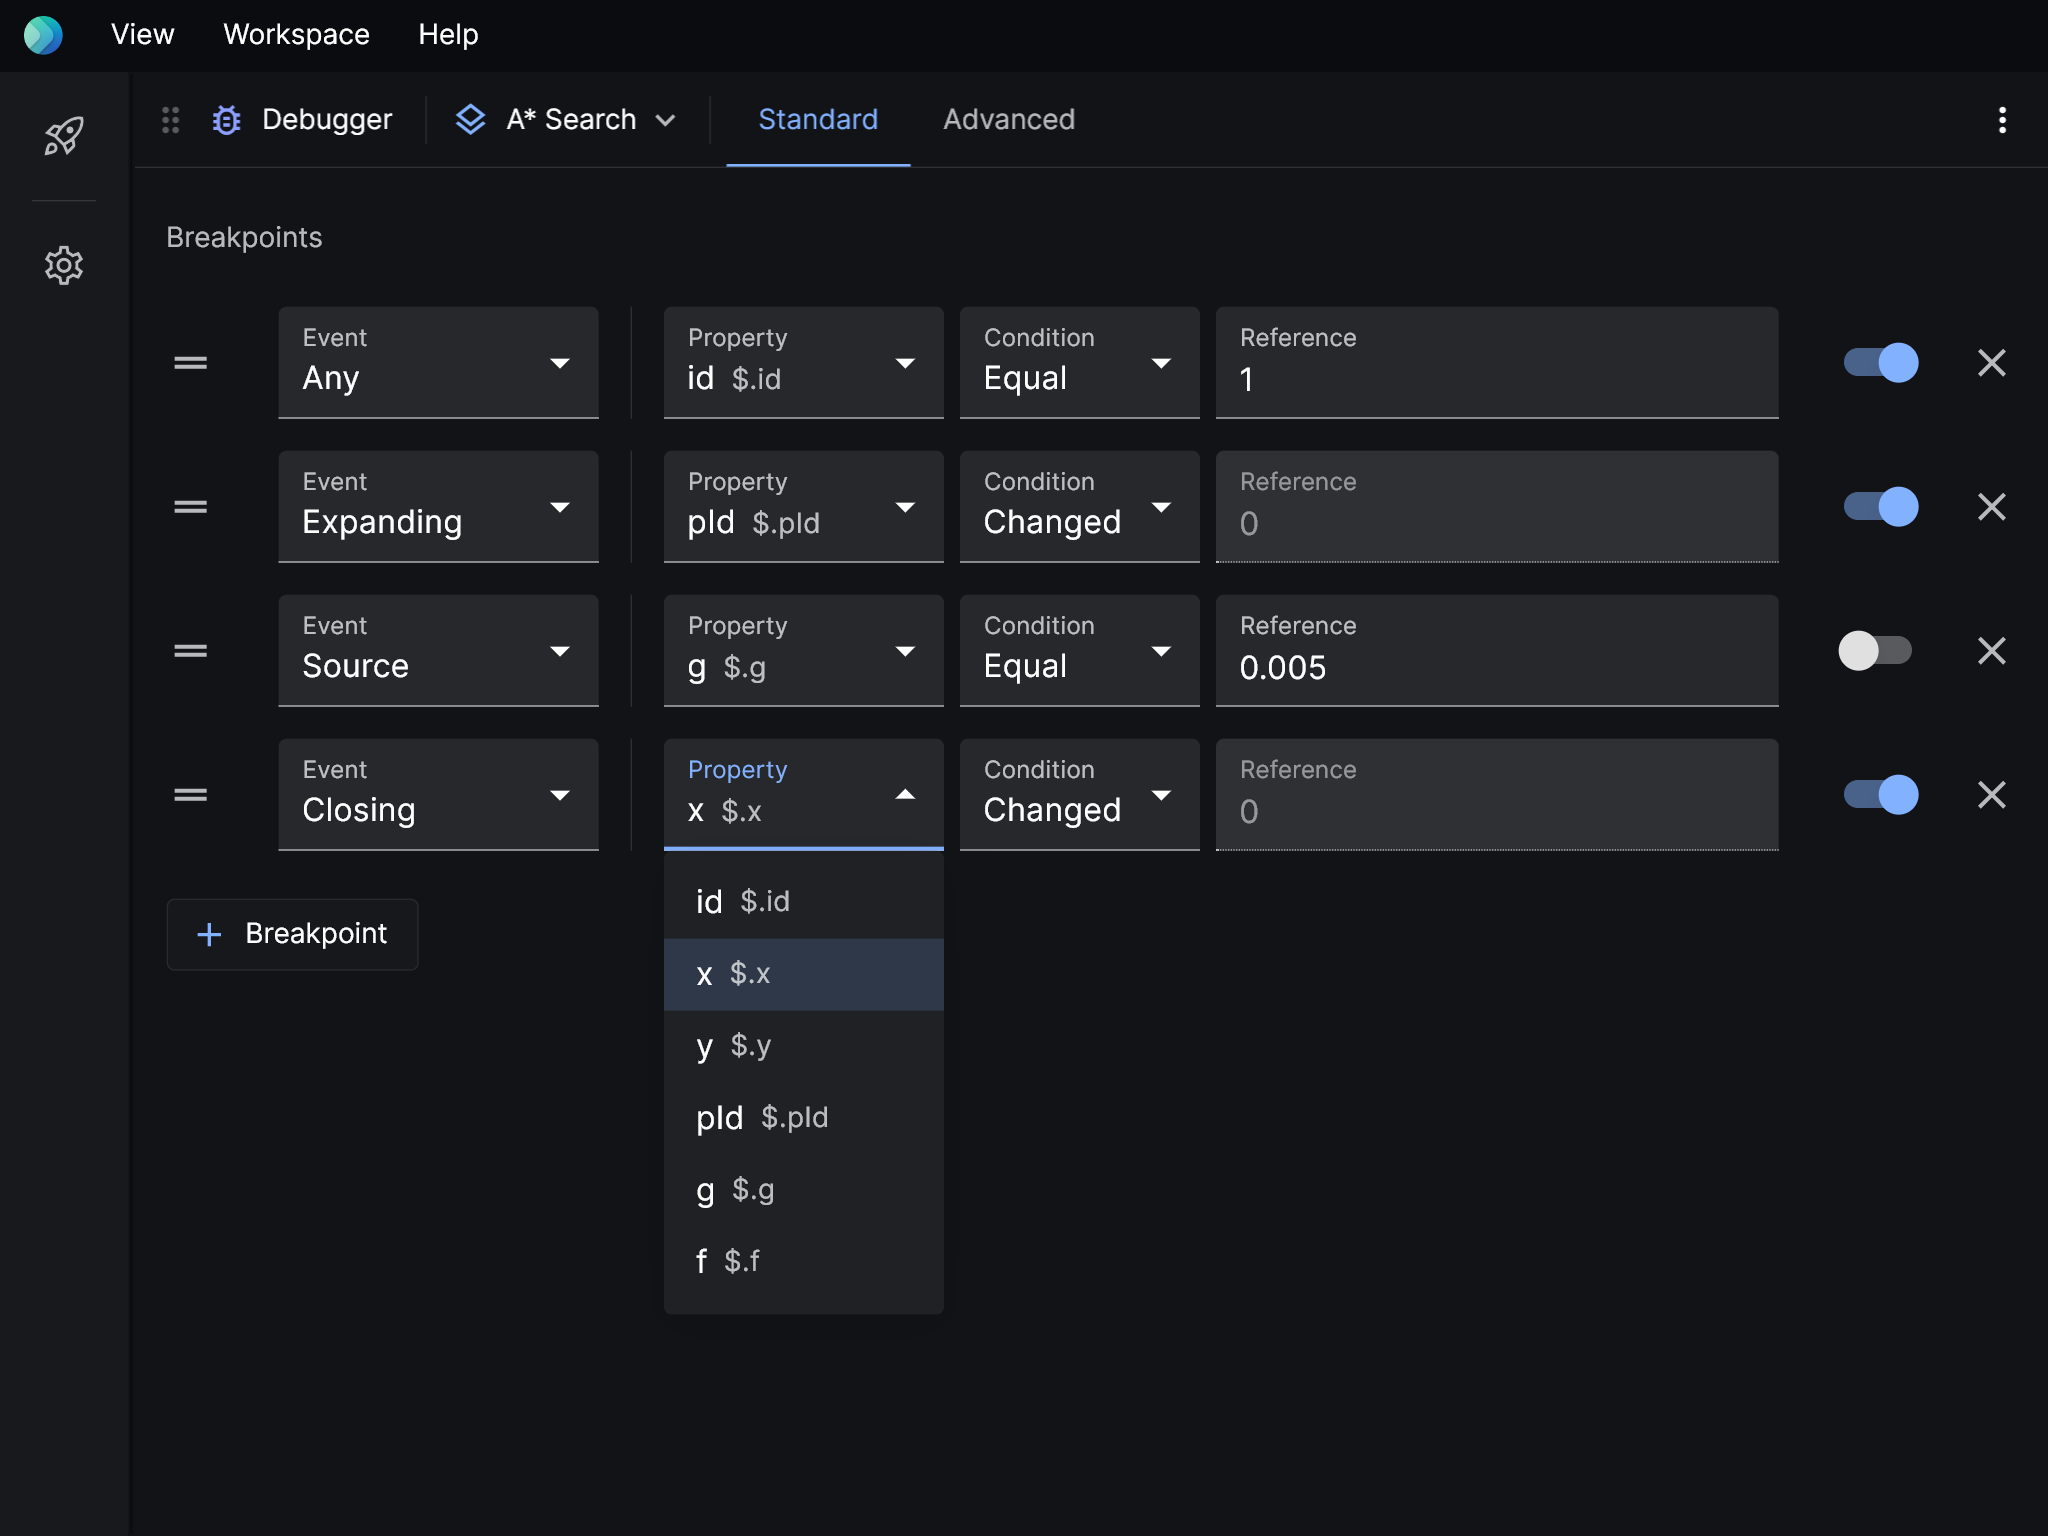
Set breakpoints and points of interest.
Standard debugger
Specify when playback should pause.
Advanced debugger
Specify when playback should pause via a function. If shouldBreak() returns true, a breakpoint is added.
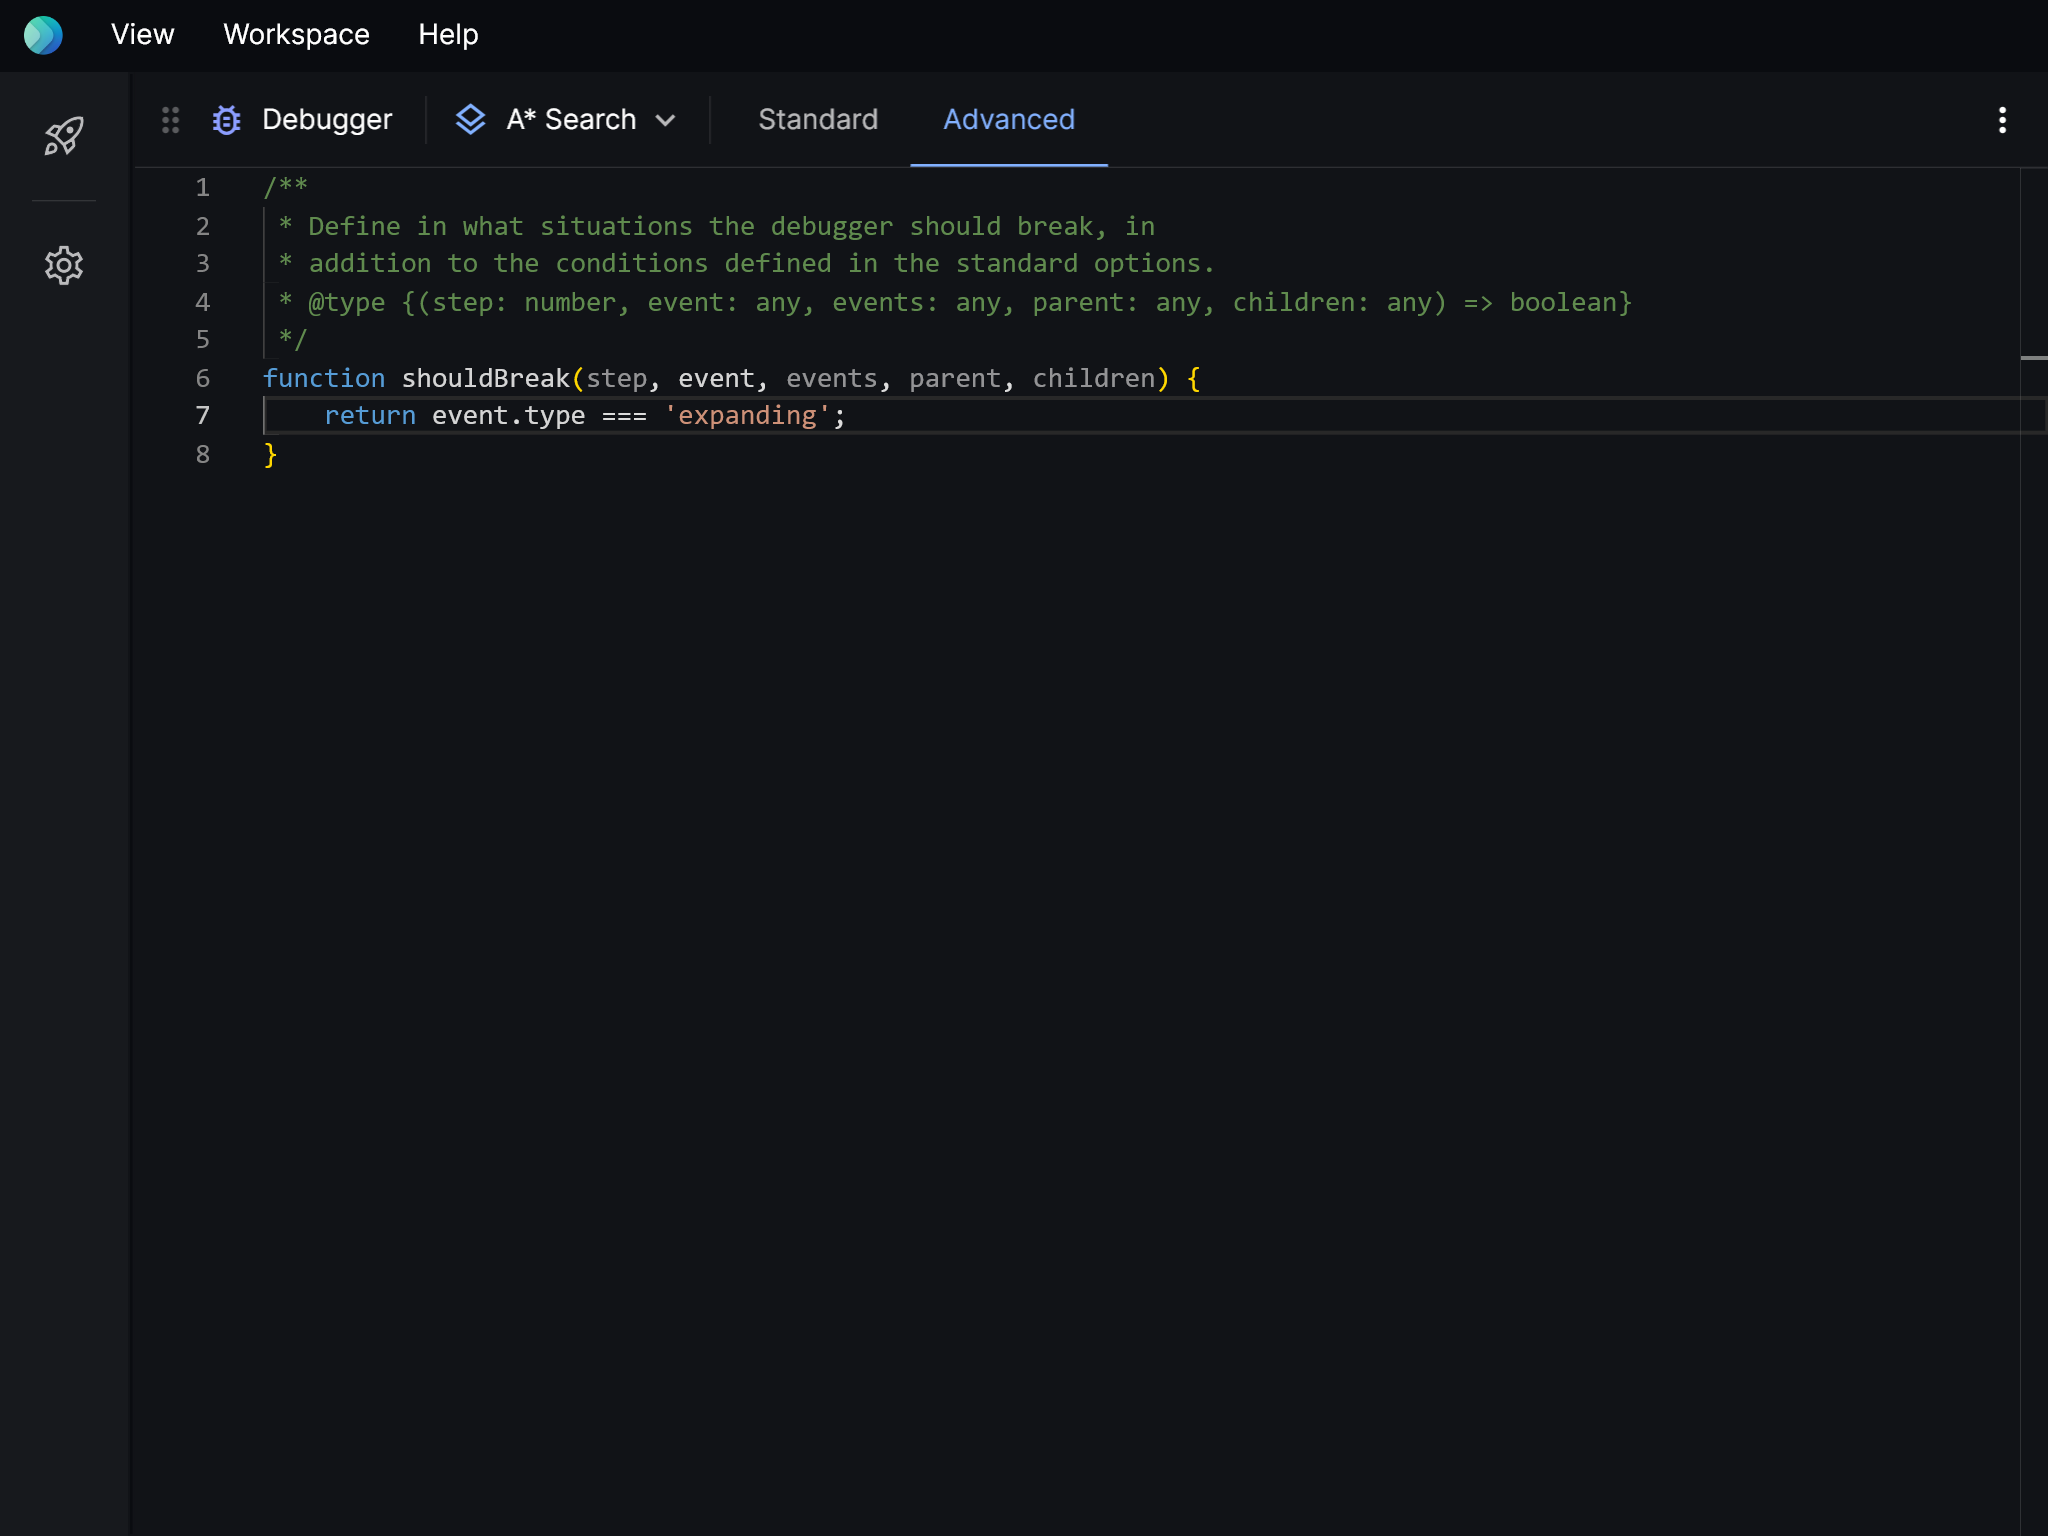
| Argument | Description |
|---|---|
step | int The current step. |
event | event The current event. |
events | event[] List of all events. |
parent | event The parent event. |
children | event[] List of child events. |
Toolbar items
| Name | Description | Default |
|---|---|---|
| Layer | The layer to set breakpoints for. | The first layer with events. |
Logs
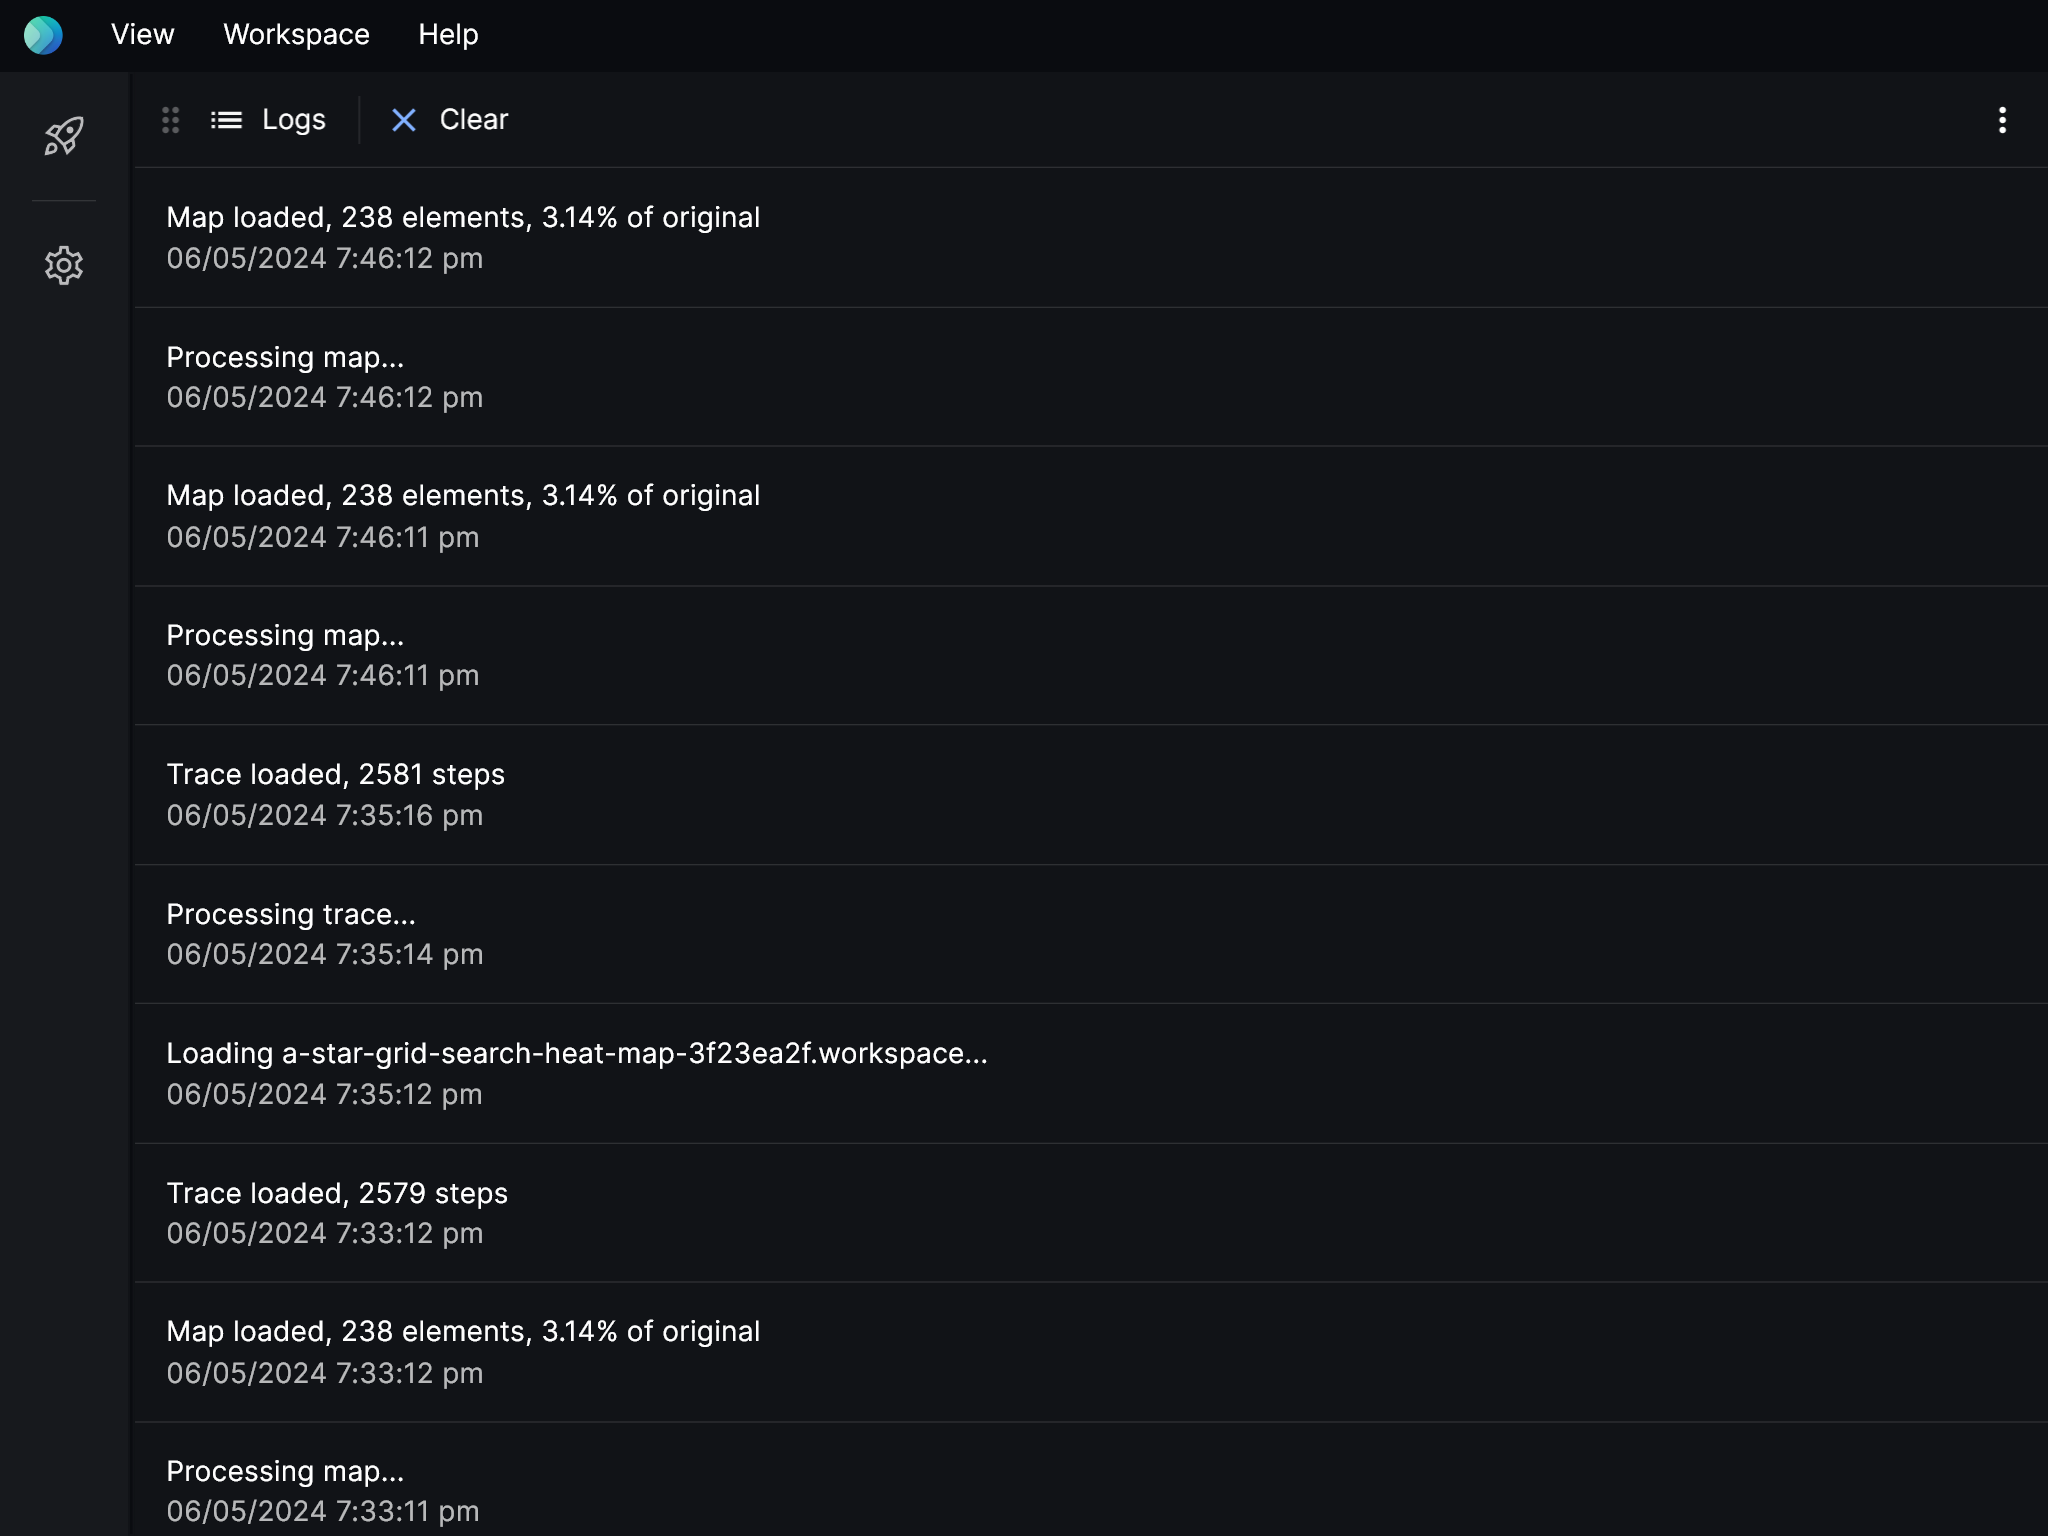
Displays important messages and errors.
Settings
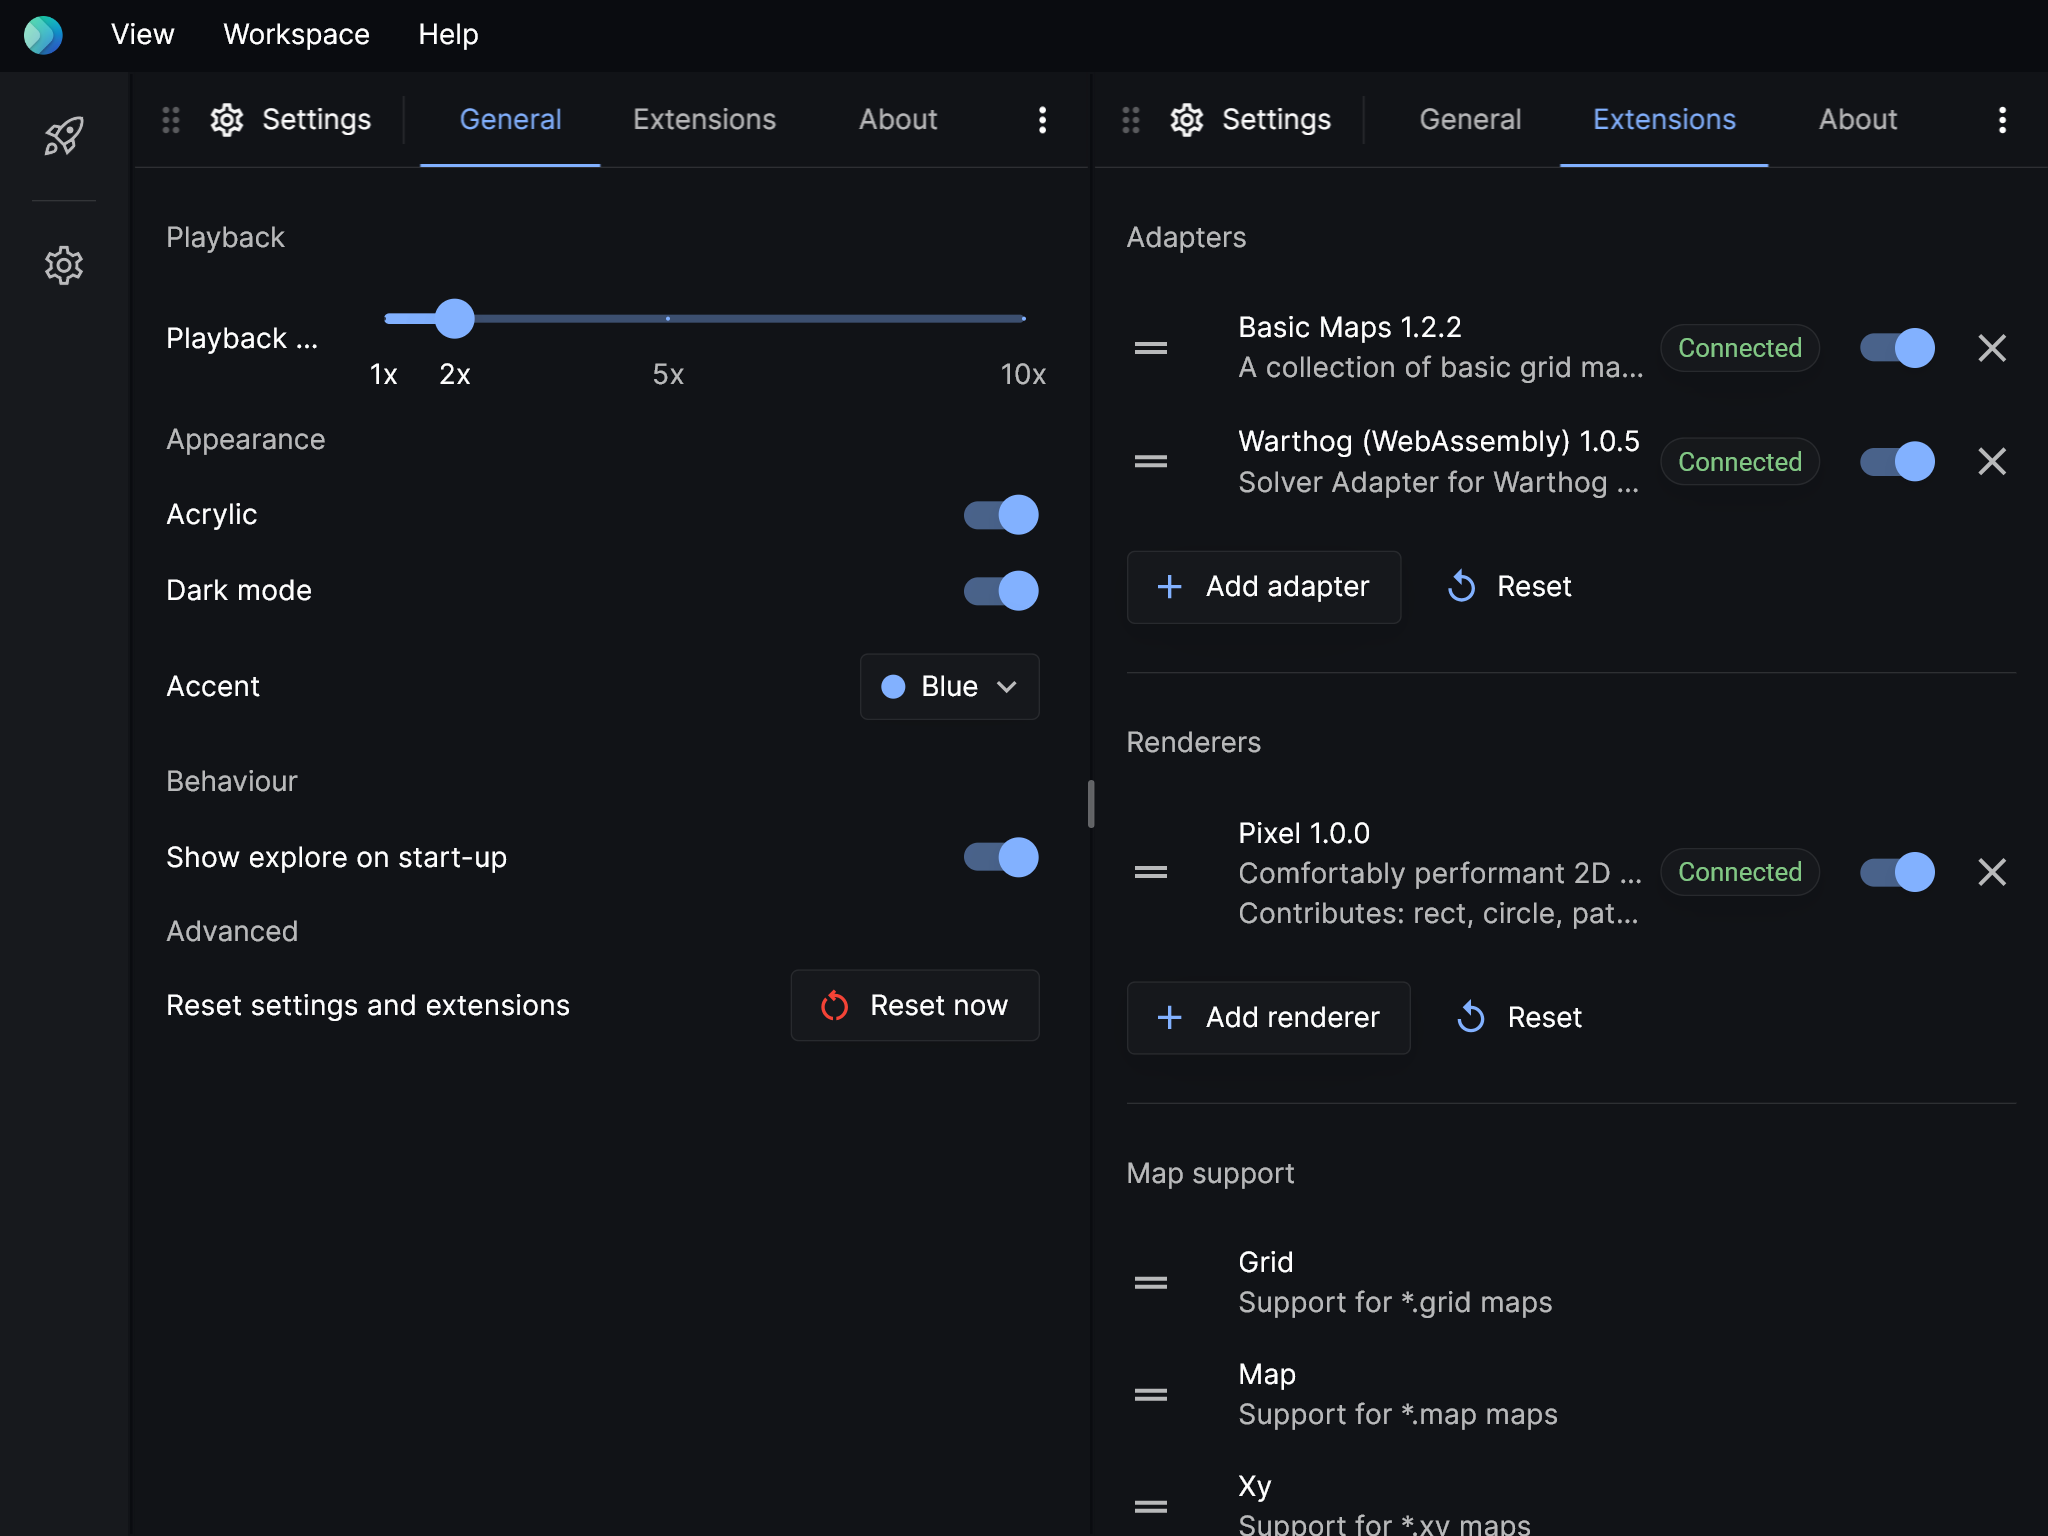
Configure Posthoc.
General settings
| Setting | Description |
|---|---|
| Playback rate | Set playback rate. 1x is 60 events per second. |
| Acrylic | Use a subtle frosted glass effect. Turn this off for a small performance boost. |
| Dark mode | Whether the UI should use a dark colour palette. |
| Accent | Choose a theme color for Posthoc. |
| Show explore on start-up | Whether to show the Explore page when Posthoc is launched. |
| Reset settings and extensions | Completely reset Posthoc's settings and extensions. |
Extensions
Manage connected solvers, adapters, renderers, and map parsers. Read more about extensions here.
Customising views
Choosing content for views
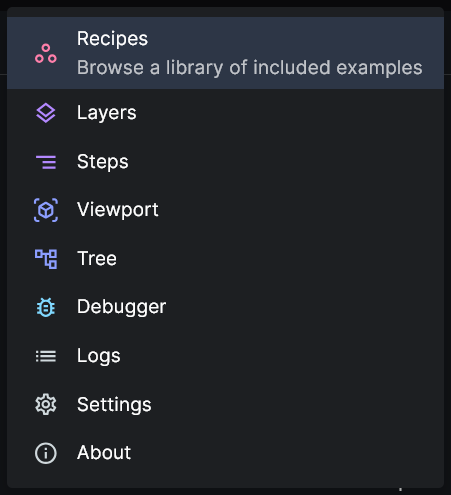
You can choose what content to display in views by clicking the dropdown menu on the top left.
Add and remove views
You can find views controls in the extras menu on the top right. Add more panels by splitting existing menus horizontally or vertically.
You can also add a view using View > Add panel to the right and View > Add panel below in the title bar.
Titlebar
The titlebar gives you commands that control Posthoc as a whole.
View menu
| Item | Description |
|---|---|
| New window | Create a new linked window. |
| Add panel to the right | Create an empty view on the far right edge. |
| Add panel below | Create an empty view on the bottom edge. |
| Reset layout | Reset the panels to the original configuration. Depending on the screen size, this could be a vertical two-panel layout or a horizontal three-panel layout. |
| Reload window | Reload the window, clearing any current work. |
Workspace menu
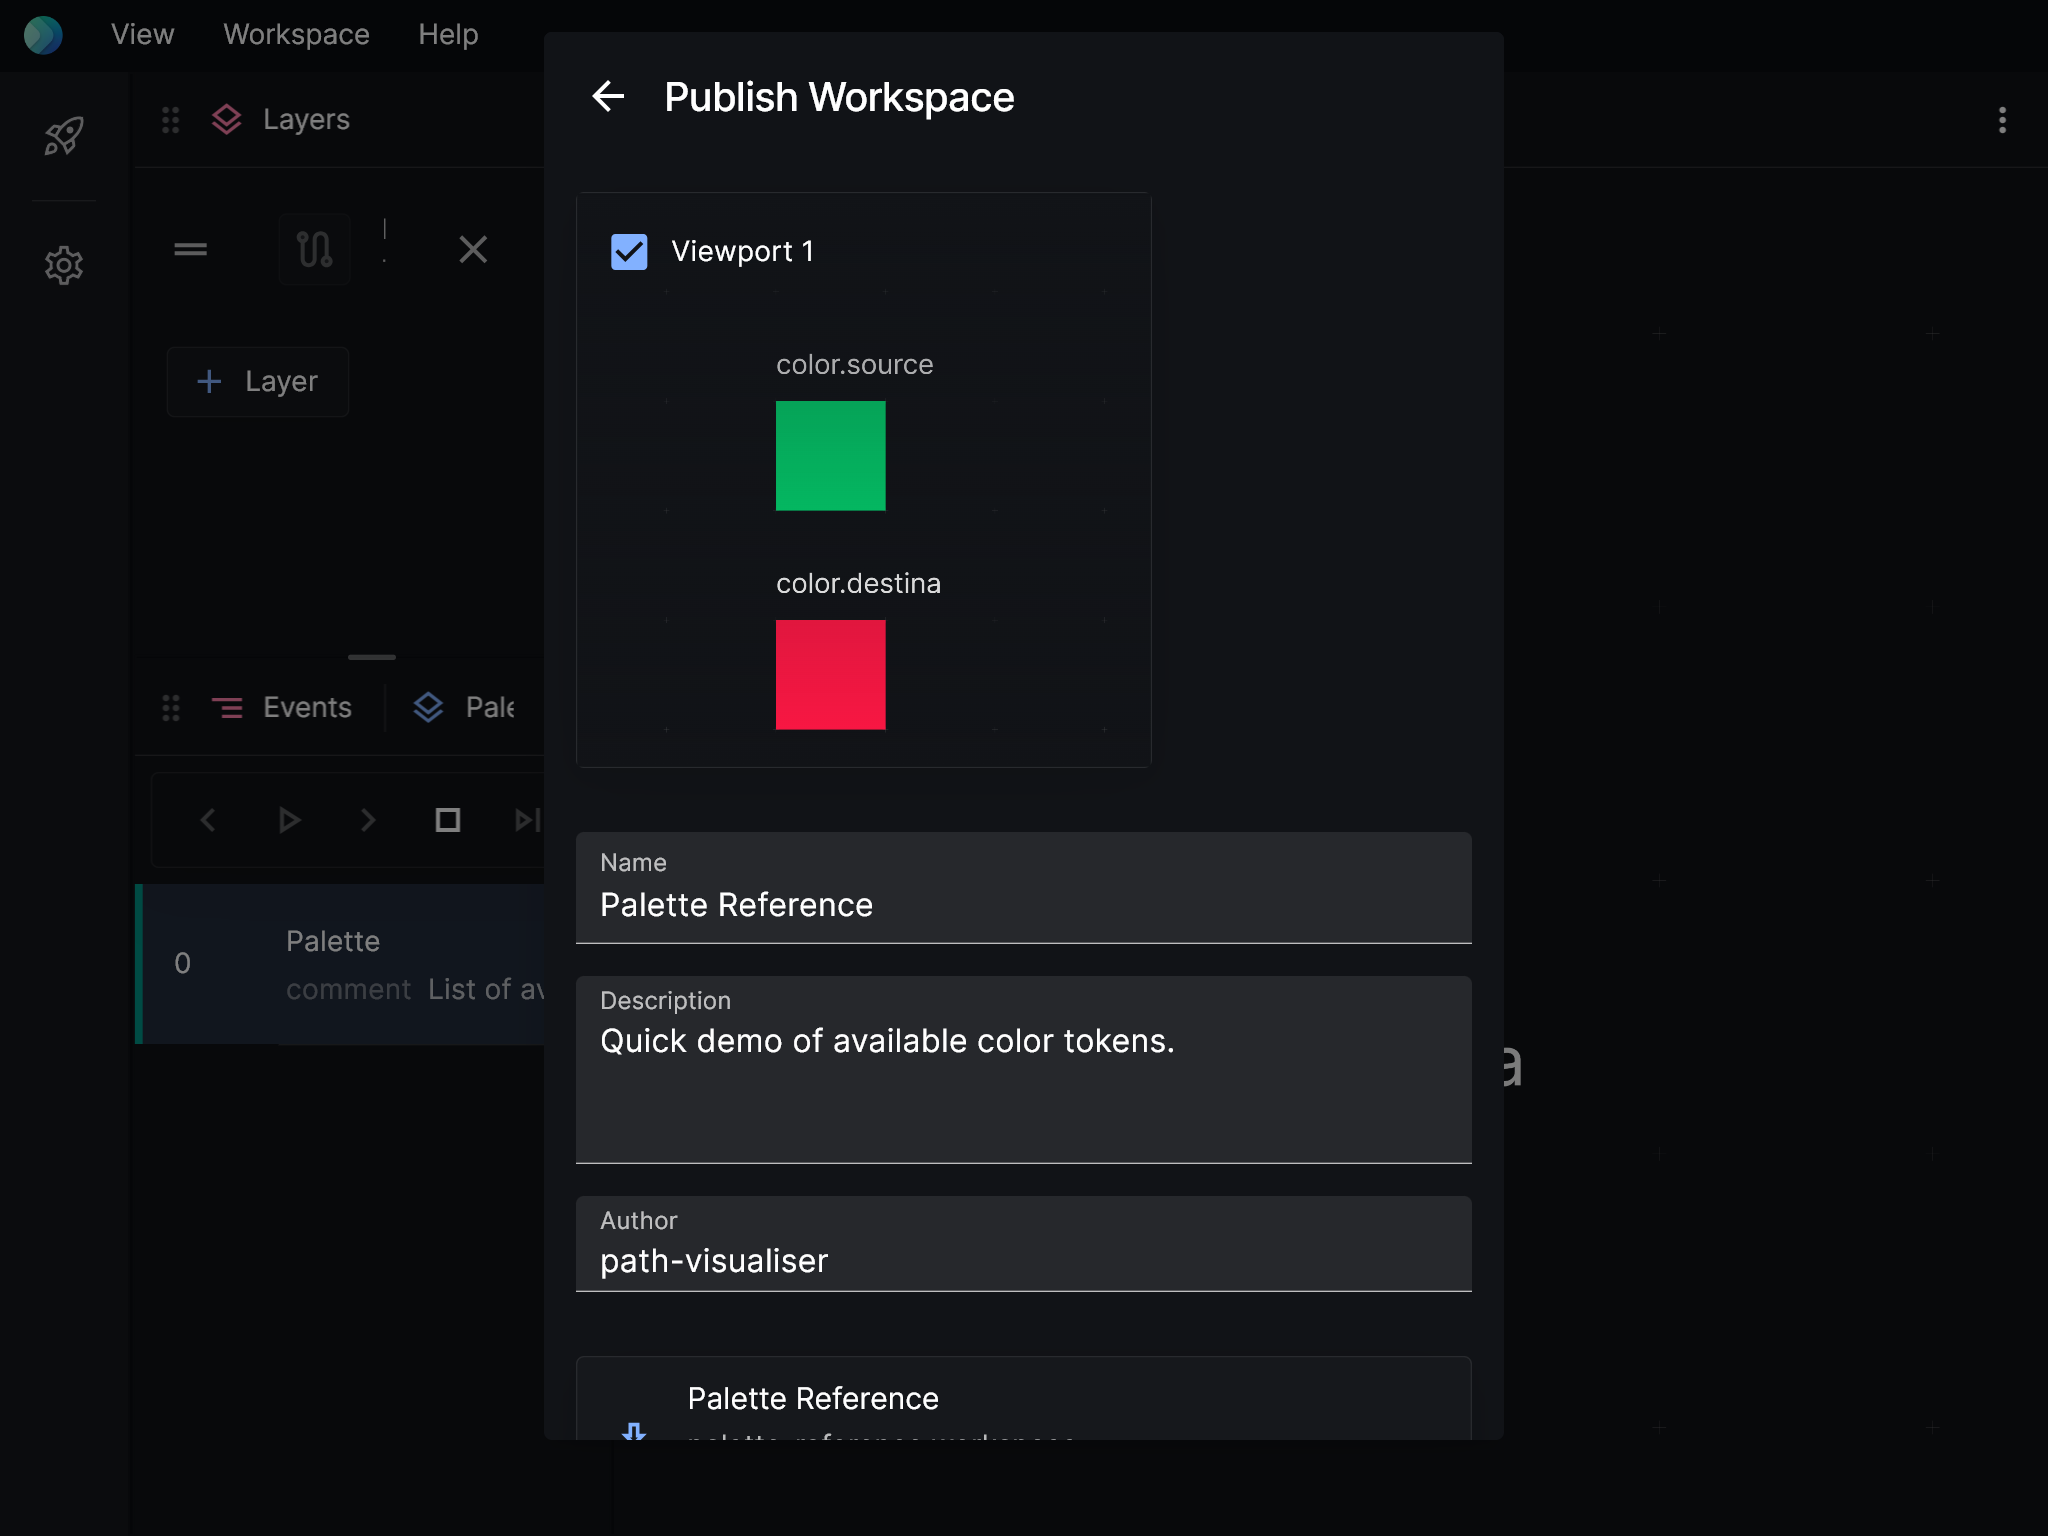
| Item | Description |
|---|---|
| Open workspace | Select a *.workspace file to load. |
| Add panel below | Save the current project as a *.workspace file. |
| Export workspace | Save the current project as a _.workspace and _.workspace.meta file. |
Sidebar
The sidebar gives you quick access to Explore and Settings. In the future, you'll be able to pin items to the sidebar for quick access, and pop sidebar panels out into the main area.
Linked window
You can create linked windows via View > New window. This is helpful if you have multiple monitors.
To help you identify windows that belong to the same workspace, when multiple windows are open, they're labelled Group [letter] on the top left corner.
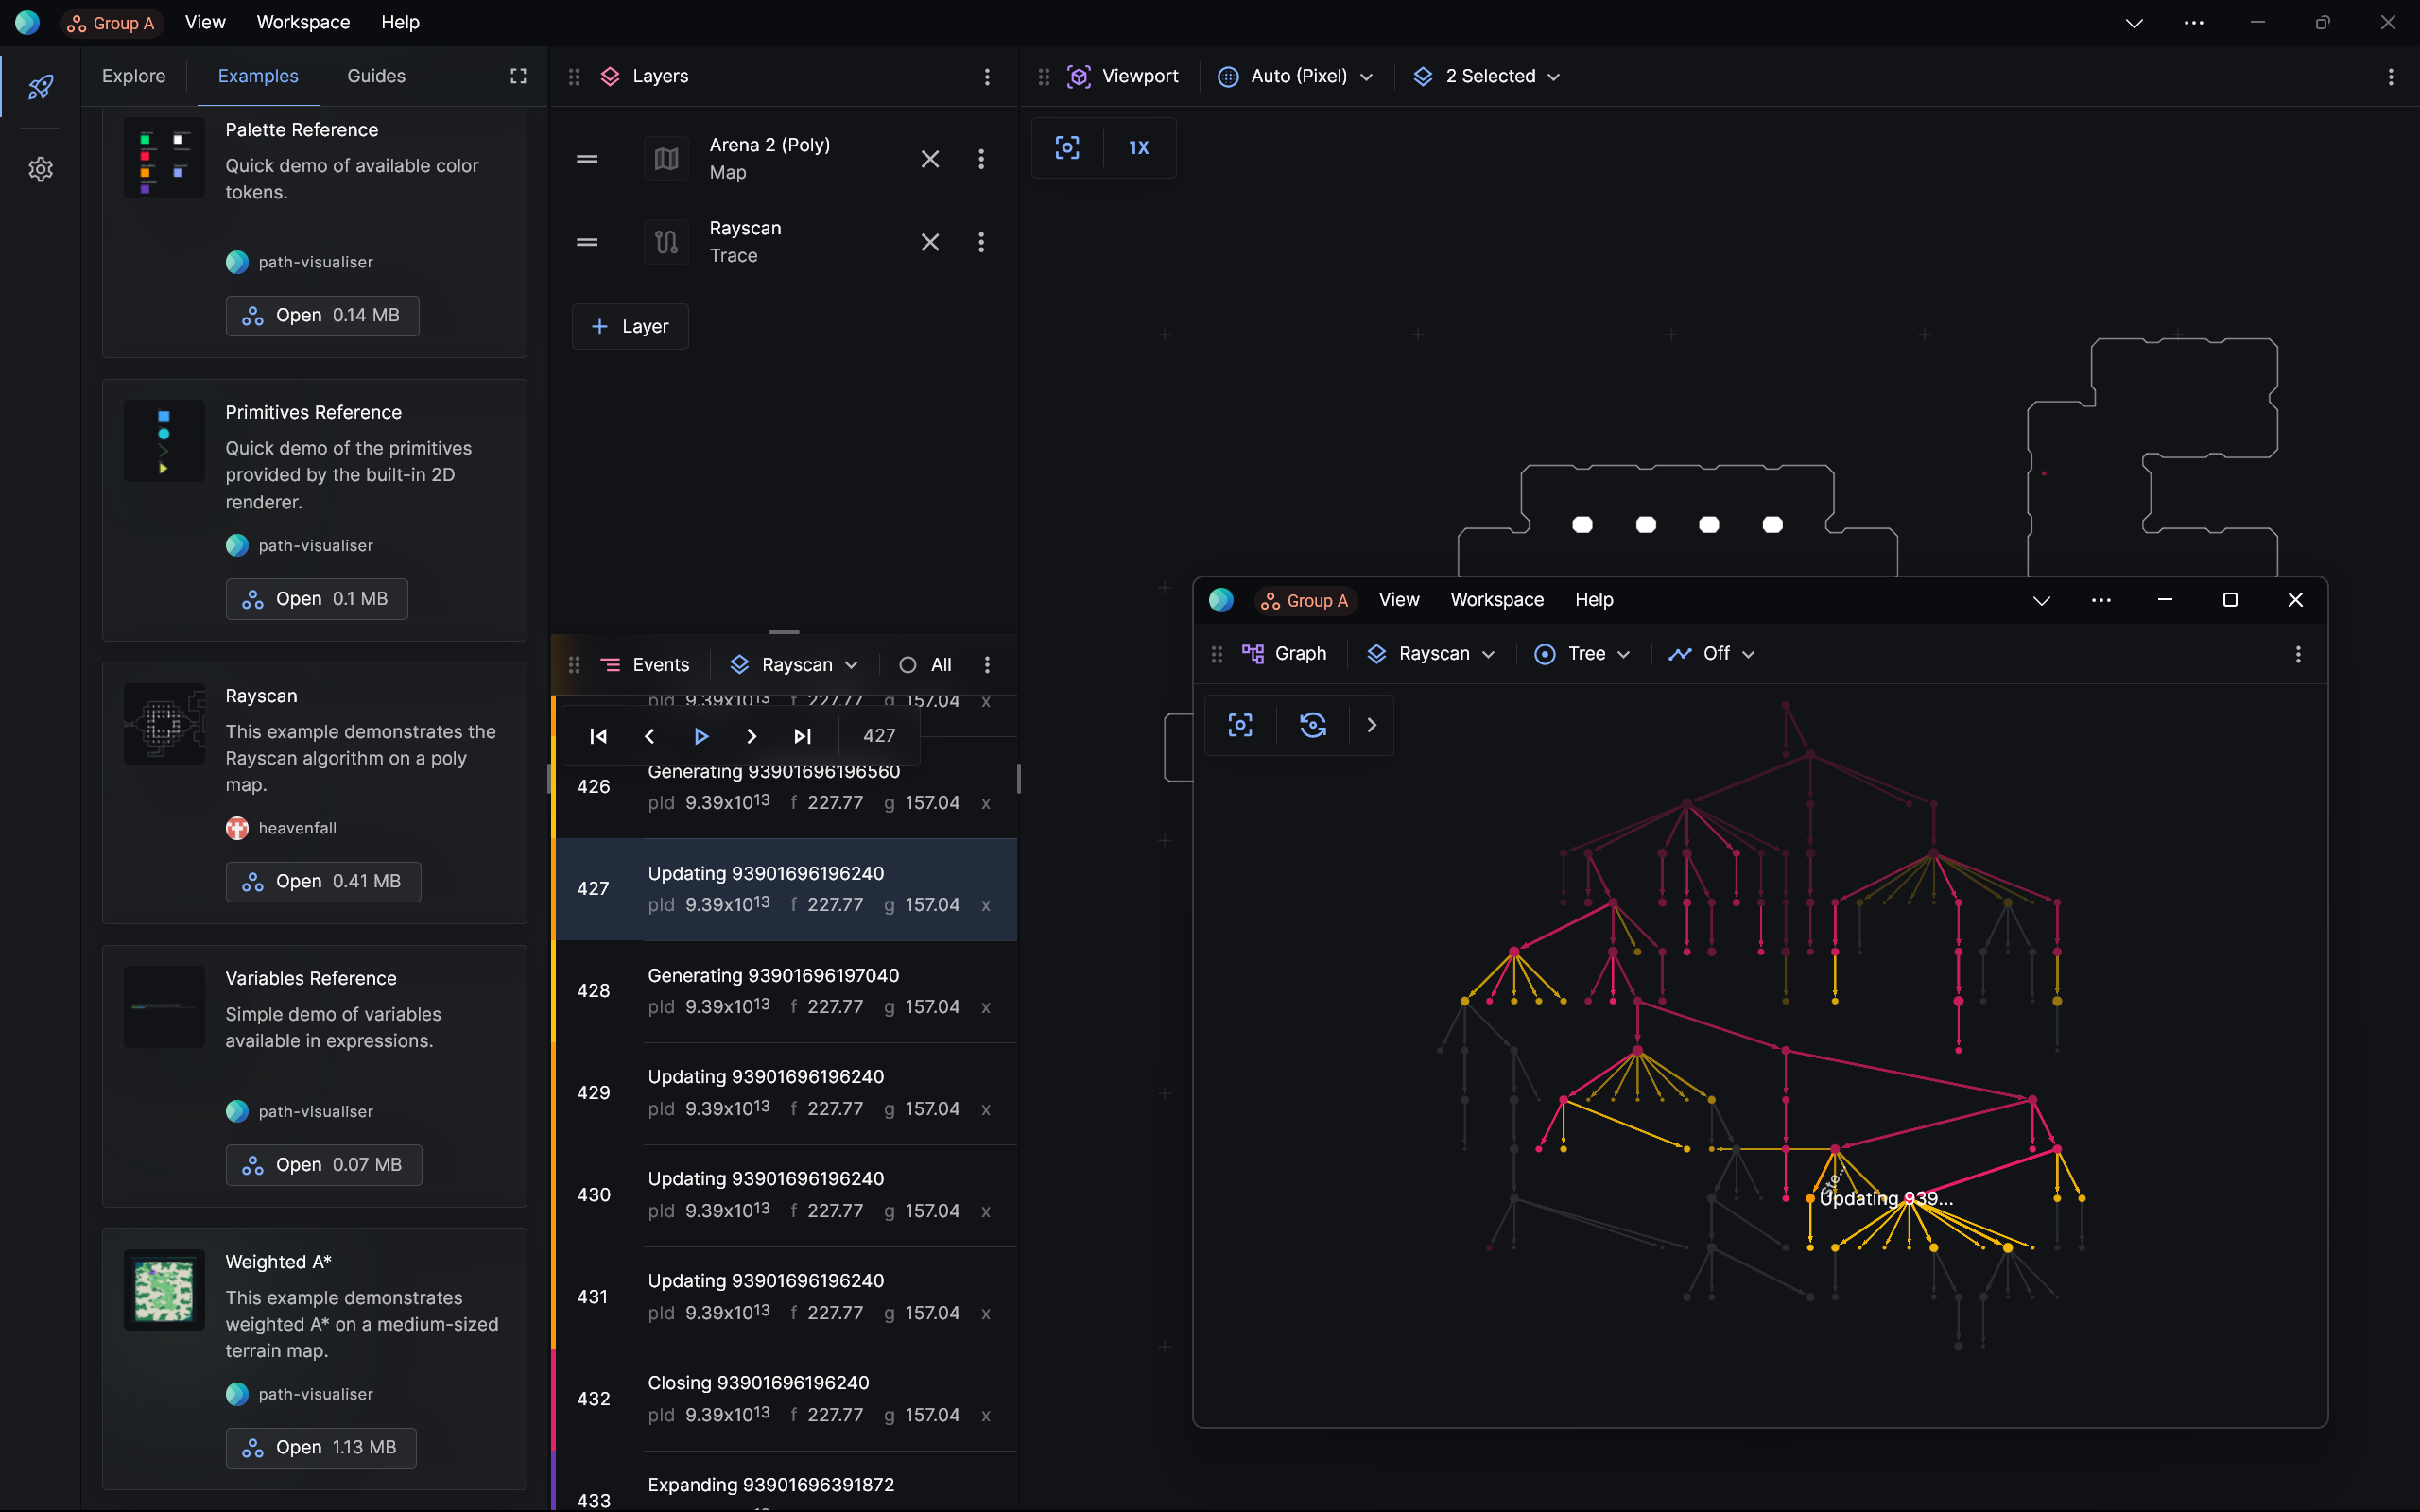
When the main window is closed, the oldest linked window becomes the main one.
Drag and drop
You can import any supported file by dropping them into Posthoc.
