Single Agent Grid Search
Follow these steps to visualise a single-agent search, in our case A*, on a grid map.
This tutorial was written for version v1.0.9.
Prepare the Map
We support grid maps as .grid files. A .grid file is a text file that looks like this:
type octile
height 5
width 5
map
.....
..@..
.@@@.
..@..
.....
Save this file as cross.grid to your system.
Load the Map
- In the Layer panel, click + Layer to add a new layer.
- Click the pencil icon to edit the layer.
- For Type, choose Map.
- For Source, choose Import Map, then pick
cross.gridfrom your system. - Close the Edit Layer modal.
- In the Viewport panel, click Fit to fit the map to the viewport.
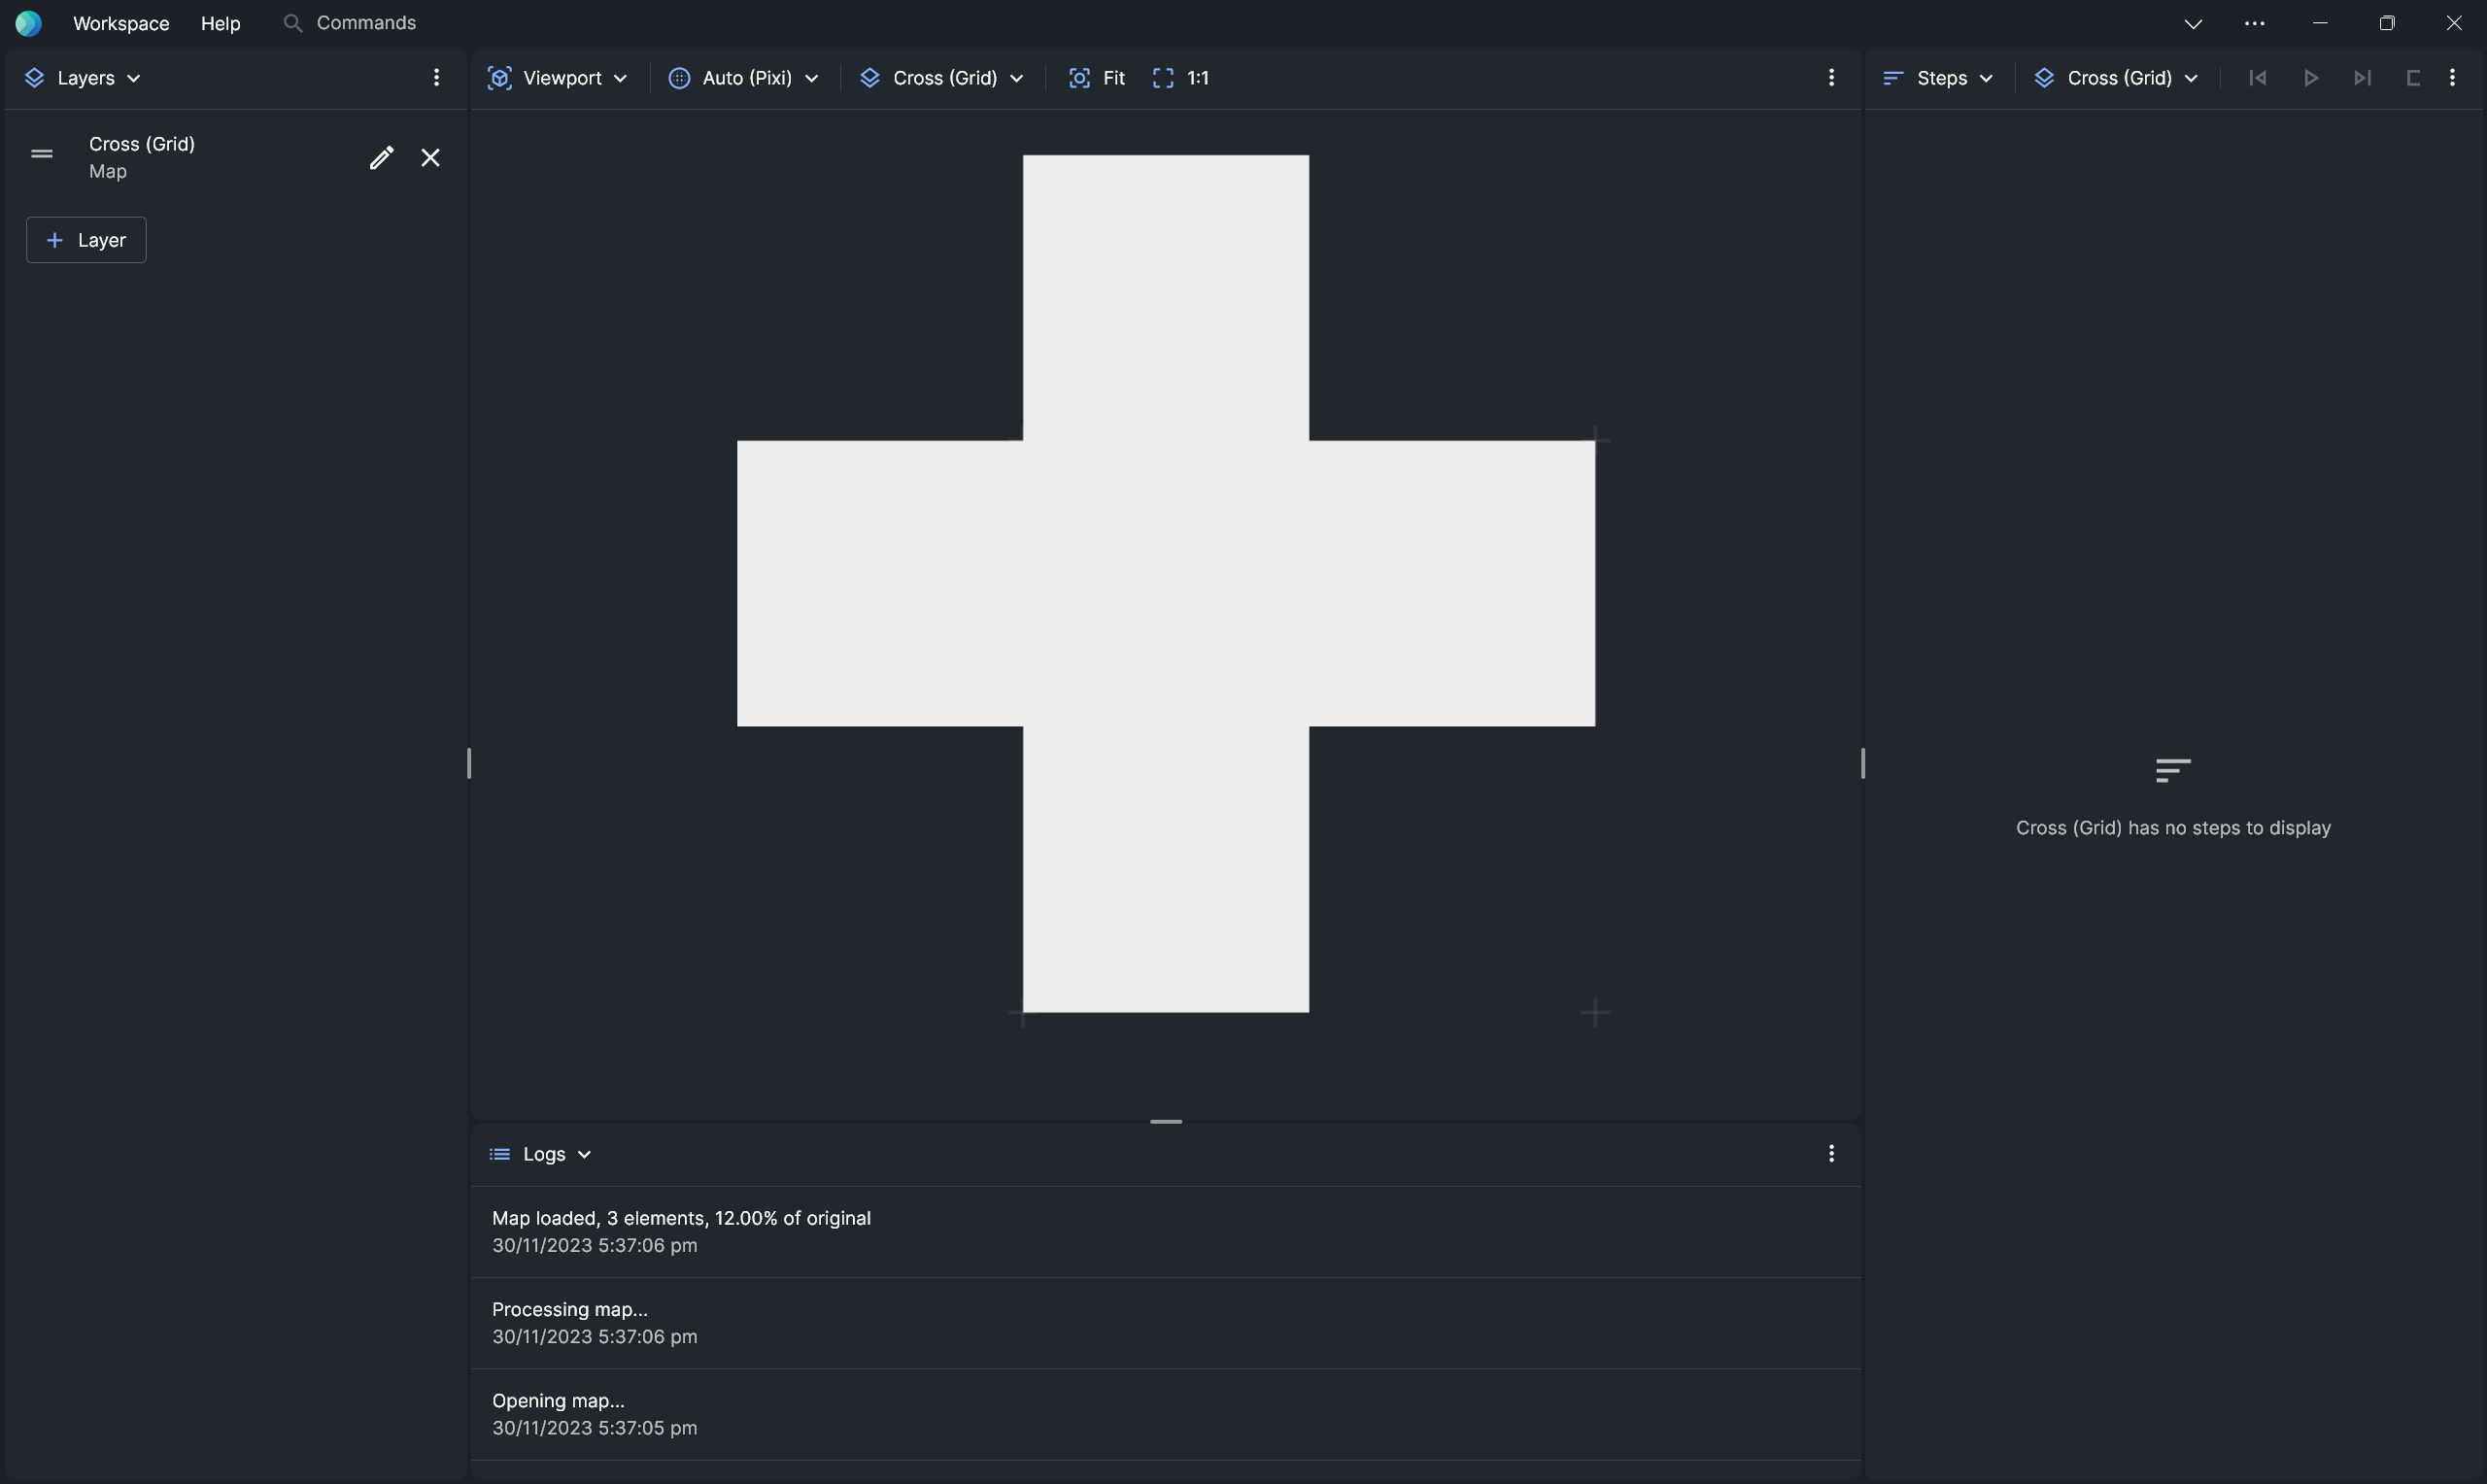
This should be the result:

Prepare the Search Trace
You can generate the search trace in a number of ways depending on your solver.
- Demo Search Trace
- Warthog
- Query
Download this pre-computed search trace.
The file should start like this:
render:
  components:
    tile:
      - $: rect
        width: 1
        height: 1
        x: "{{$.event.x}}"
        y: "{{$.event.y}}"
        fill: "{{$.color[$.event.type]}}"
  views:
    main:
      components:
        - $: tile
  path:
    pivot:
      x: "{{$.event.x + 0.5}}"
      y: "{{$.event.y + 0.5}}"
    scale: 0.3
events:
  - type: source
    id: 96
    x: 0
    y: 0
  - type: destination
    id: 228
    x: 4
    y: 4
The search trace contains a record of the events that occured during the search and how to visualise them.
Load the Search Trace
- In the Layer panel, click + Layer to add a new layer.
- Click the pencil icon to edit the layer.
- For Type, choose Trace.
- For Trace, choose Choose File, then pick the search trace from your system.
- Close the Edit Layer modal.
- In the Viewport panel, click Fit to fit the map to the viewport.
TODO: explain on how warthog can be download and used through the terminal and produce a search trace
By default, Visualiser is bundled with a WebAssembly version of Warthog, a solver for grid maps.
Check that Warthog (WebAssembly) is enabled in the Settings panel, in the Connections tab.

Adding the Query
- In the Layer panel, click + Layer to add a new layer.
- Click the pencil icon to edit the layer.
- For Type, choose Query.
- For Algorithm, choose the algorithm that you want to visualise.
- For Map, choose a map that you have chose.
- Close the Edit Layer modal.
Adding Source and Destination
- Left click on any part of the map that you wanted to be set as a source, then Set as Source
- Do the same for the destination click Set as Destination
- A green pixel will show up marking the source
A demonstration on how to add a query, destination and source is provided in this Video
Step through the Search Trace
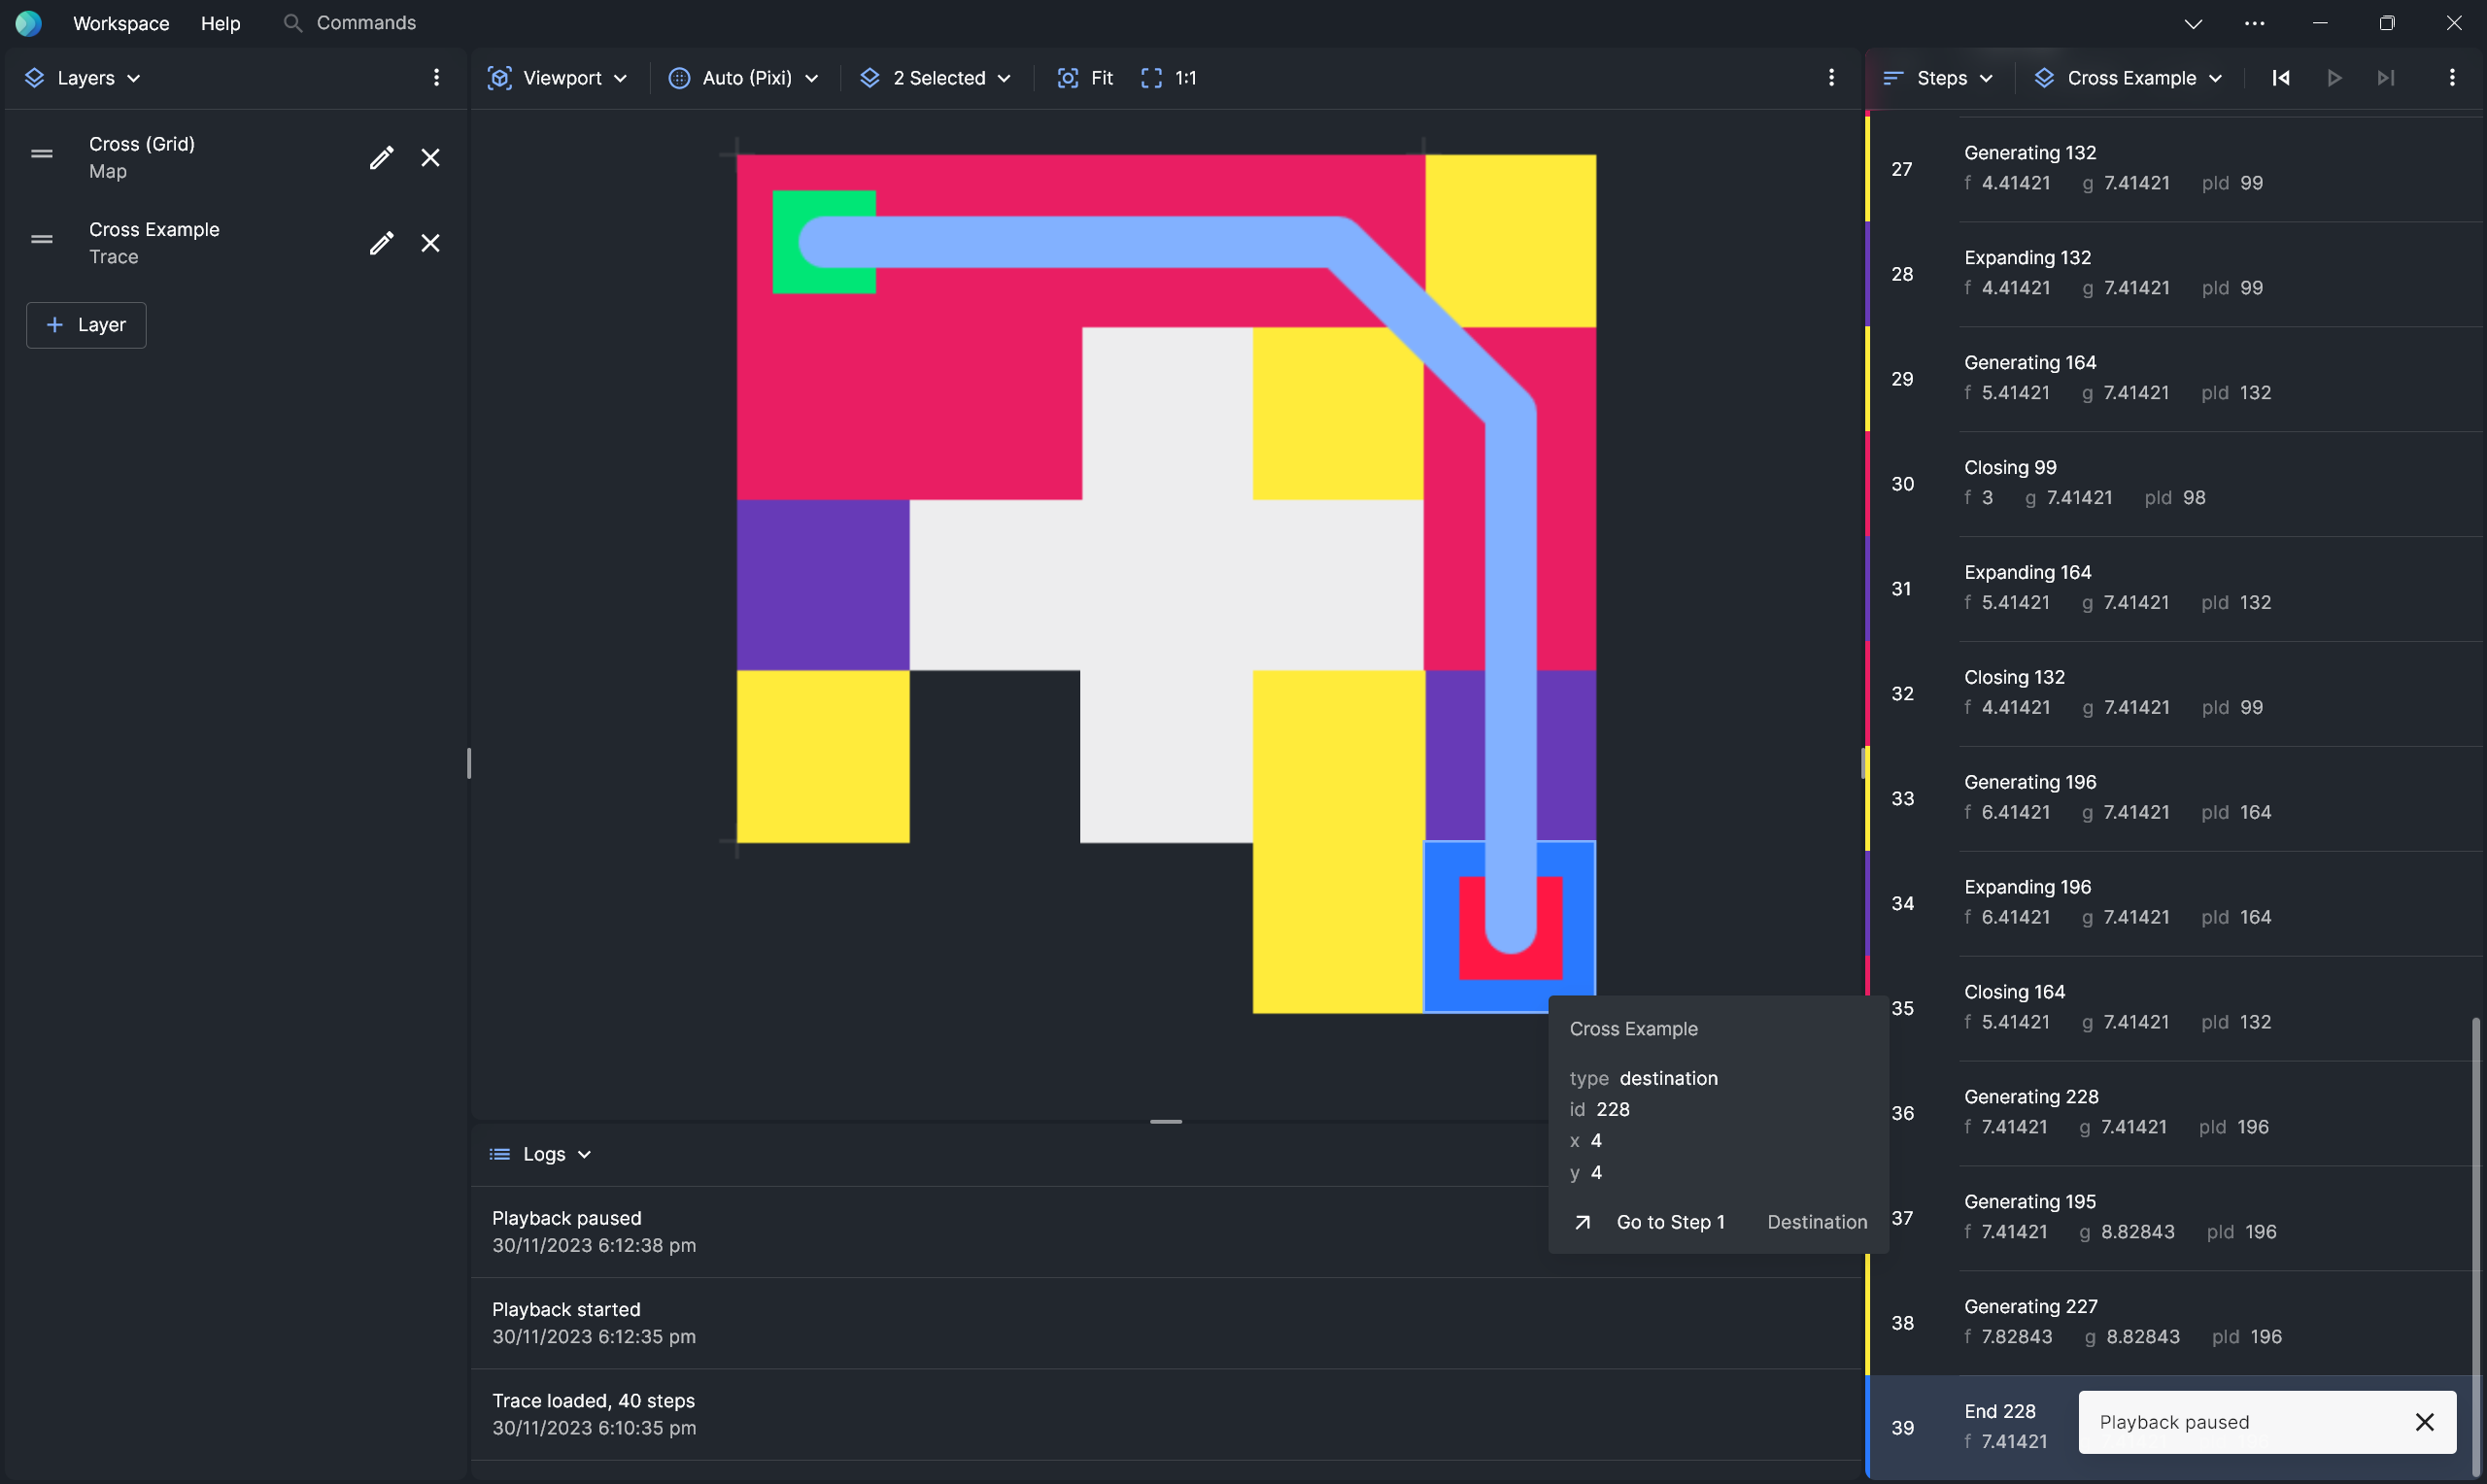
- In the Steps panel, choose the search trace layer from the layer dropdown. Here, the layer is named Cross Example.
- Click Play.

A demonstration on how to import a map and a trace is provided in this Video
You have now visualised an A* search on a grid map.